Identity Access Manager (IAM)
The INDIGO Identity and Access Management (IAM) is an Authentication and Authorisation Infrastructure (AAI) service which manages users credentitials and attributes, like group membership, and authorization policies to access the resources.
Note
Current IAM version: v1.5.0.rc2
Note
After IAM installation it is needed to configure the Cloud provider identity service to accept the INDIGO IAM OpenID Connect authentication. For Openstack Keystone this is a standard configuration and the documentation can be found here. Furthermore, to enable more OpenID Connect providers configured in the apache mod_auth_openidc module used by Keystone, in order to not change Keystone configuration, it is possible to exploit the ESACO plugin. At the moment, for example, it is used with OpenStack at ReCaS-Bari datacenter. An example of integration is available here.
VM configuration
Create VM for IAM. The VM should meet the following minimum requirements:
OS |
Ubuntu 16.04 |
vCPUs |
2 |
RAM |
4 GB |
Network |
Public IP address. |
Warning
All the command will be run on the control machine.
Enable Google Authentication
To enable Google authentication access to Google developers console and create and configure a new credential project.
Create Credentials > OAuth Client ID
Application Type: Web Application
Name: Set a custom Service Provider (SP) name
Authorized JavaScript origins: https://<iam_vm_dns_name>.
Authorized redirect URIs: https://<iam_vm_dns_name>/openid_connect_login
Create the client
Copy your client ID and client secret
Create the file indigopaas-deploy/ansible/application-oidc.yml, copying and pasting the client ID, client Secret and the IAM url
oidc:
  providers:
  - name: google
    issuer: https://accounts.google.com
    client:
      clientId: <iam_google_client_id>
      clientSecret: <iam_google_client_secret>
      redirectUris: https://<iam_url>/openid_connect_login
      scope: openid,profile,email,address,phone
    loginButton:
      text: Google
      style: btn-social btn-google
      image:
        fa-icon: google
Enable ELIXIR-AAI Authentication
To enable you need to request a valid client ID and client Secret. Please read the corresponding documentation.
Then create the file indigopaas-deploy/ansible/application-oidc.yml, copying and pasting the client ID, client Secret and the IAM url:
oidc:
  providers:
  - name: elixir-aai
    issuer: https://login.elixir-czech.org/oidc/
    client:
      clientId: <iam_elixiraai_client_id>
      clientSecret: <iam_elixiraai_client_secret>
      redirectUris: https://<iam_fqdn>/openid_connect_login
      scope: openid,groupNames,bona_fide_status,forwardedScopedAffiliations,email,profile
    loginButton:
      text:
      style: no-bg
      image:
        url: https://raw.githubusercontent.com/Laniakea-elixir-it/ELIXIR-AAI/master/login-button-orange.png
        size: medium
Installation
In the following, both Google and ELIXIR-AAI authentication methods will be enabled. To achieve this the indigopaas-deploy/ansible/application-oidc.yml with Google and ELIXIR-AAI corresponding clients ID and clients Secret, looks like:
oidc:
  providers:
  - name: google
    issuer: https://accounts.google.com
    client:
      clientId: <iam_google_client_id>
      clientSecret: <iam_google_client_secret>
      redirectUris: https://<iam_fqdn>/openid_connect_login
      scope: openid,profile,email,address,phone
    loginButton:
      text: Google
      style: btn-social btn-google
      image:
        fa-icon: google
  - name: elixir-aai
    issuer: https://login.elixir-czech.org/oidc/
    client:
      clientId: <iam_elixiraai_client_id>
      clientSecret: <iam_elixiraai_client_secret>
      redirectUris: https://<iam_fqdn>/openid_connect_login
      scope: openid,groupNames,bona_fide_status,forwardedScopedAffiliations,email,profile
    loginButton:
      text:
      style: no-bg
      image:
        url: https://raw.githubusercontent.com/Laniakea-elixir-it/ELIXIR-AAI/master/login-button-orange.png
        size: medium
Create the file indigopaas-deploy/ansible/inventory/group_vars/iam.yaml with the following configured values:
iam_fqdn: <iam_vm_dns_name>
iam_mysql_root_password: *******
iam_organization_name: '<your_organization_name>'
iam_logo_url: <logo_url>
iam_account_linking_disable: true
iam_mysql_image: "mysql:5.7"
iam_image: indigoiam/iam-login-service:v1.5.0.rc2-SNAPSHOT-latest
iam_notification_disable: true
iam_notification_from: 'iam@{{iam_fqdn}}'
iam_enable_oidc_auth: true
iam_application_oidc_path: "/root/indigopaas-deploy/ansible/application-oidc.yml"
iam_admin_email: '<valid_email_address>'
Warning
Set also your custom mysql password with: iam_mysql_root_password.
Warning
Please provide a valid e-mail address, which is mandatory for Let’s Encrypt certificate creation.
It is possible to enable mail notification adding the following parameters:
iam_notification_disable: false
iam_notification_from: 'laniakea-alert@example.com'
iam_notification_admin_address: <valid_email_address>
iam_mail_host: <mail_server_address>
This is needed to allow user registration, e.g. to enable confirmation e-mails.
Run the role using the ansible-playbook command:
# cd indigopaas-deploy/ansible

# ansible-playbook -i inventory/inventory playbooks/deploy-iam.yml
Note
Default administrator credentials:
username: admin
password: password
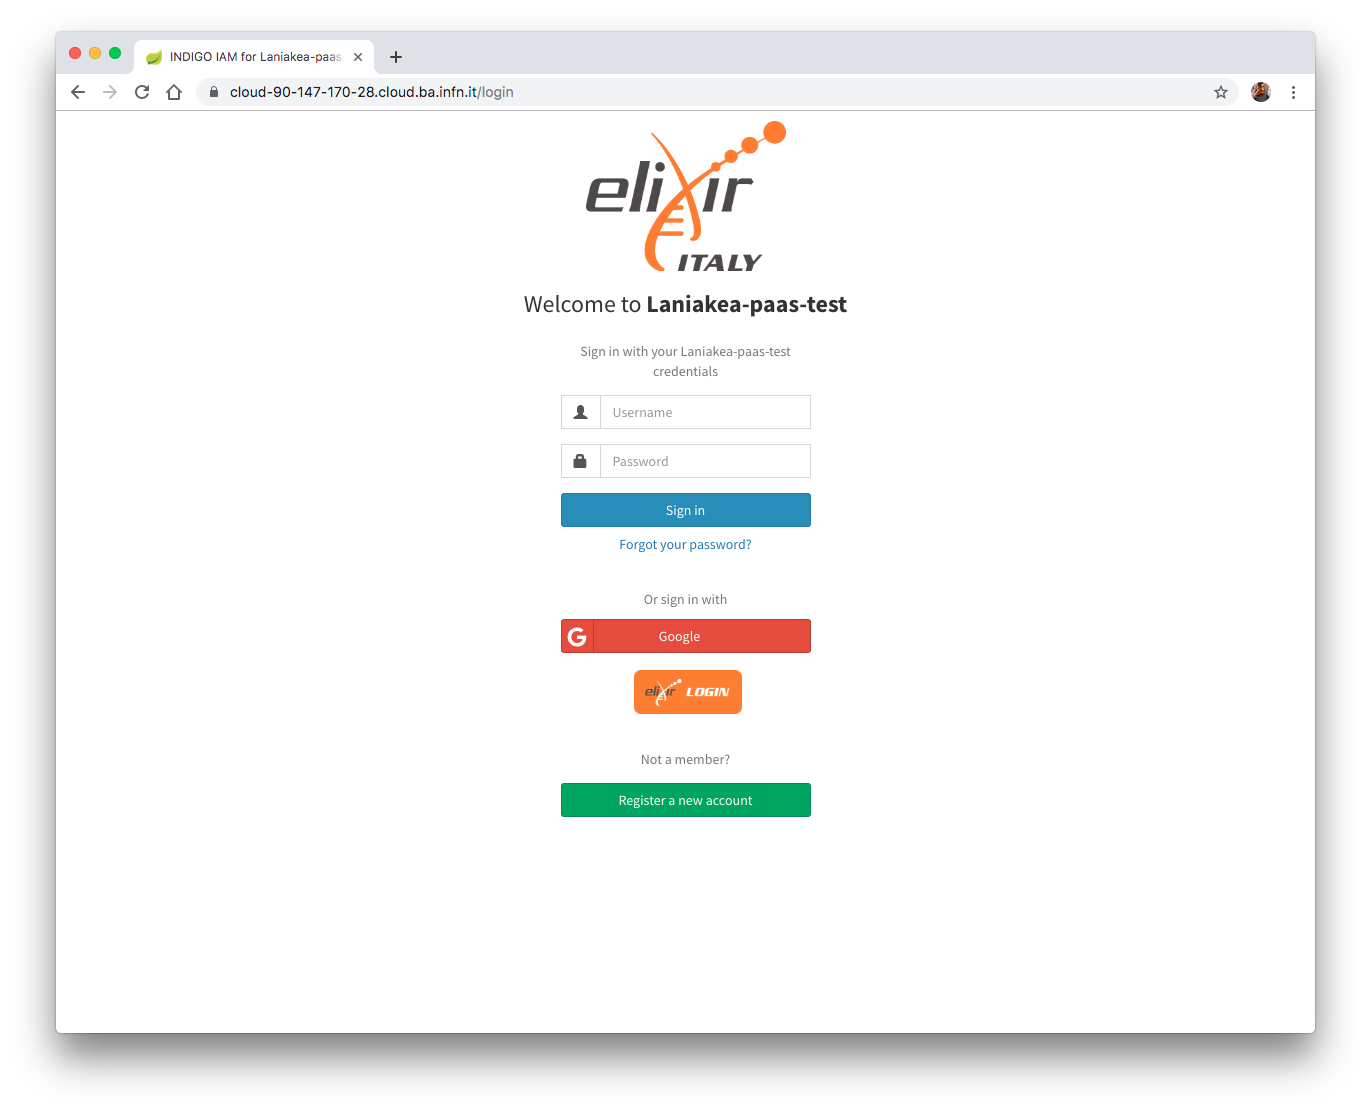
Fig.2: IAM login page
Video tutorial

IAM test
Basic IAM tests.
Test 1: login as admin
Login as admin
username: admin
password: password
Warning
Change the default password.
Test 2: Register a new user
Click Register a new account
Fill the form
Login as admin and accept the request
Login as new user
The full registration procedure is described in the Authentication section.
Test 3: Register using Google account (optional)
Sign-in with Google
Login as admin and accept the request
Login with Google
The full registration procedure is described in the Authentication section.
Create IAM Client
Registered clients allow to request and receive information about authenticated end-users. Each INDIGO service must authenticate to a dedicated IAM client using a client id and a client secret.
To create a IAM client or a protetect resource, please follow these instructions:
Obtaining an IAM access token
To get a vaild IAM access token, please follow these instructions: