Applications deploy behind VPN
Laniakea provides the possibility to deploy its applications as VPN isolated environments using just private networks.
Indeed the access is grant only through VPN authentication, using the same Laniakea credentials.
Therefore only users authrised using the Laniakea authentication system can access the application server.
See also
To login to the Laniakea dashboard visit the section: Authentication.
In the following tutorial we describe how to deploy Galaxy behind a VPN and exploit it.
Note
The step are identical for any other application on Laniakea.
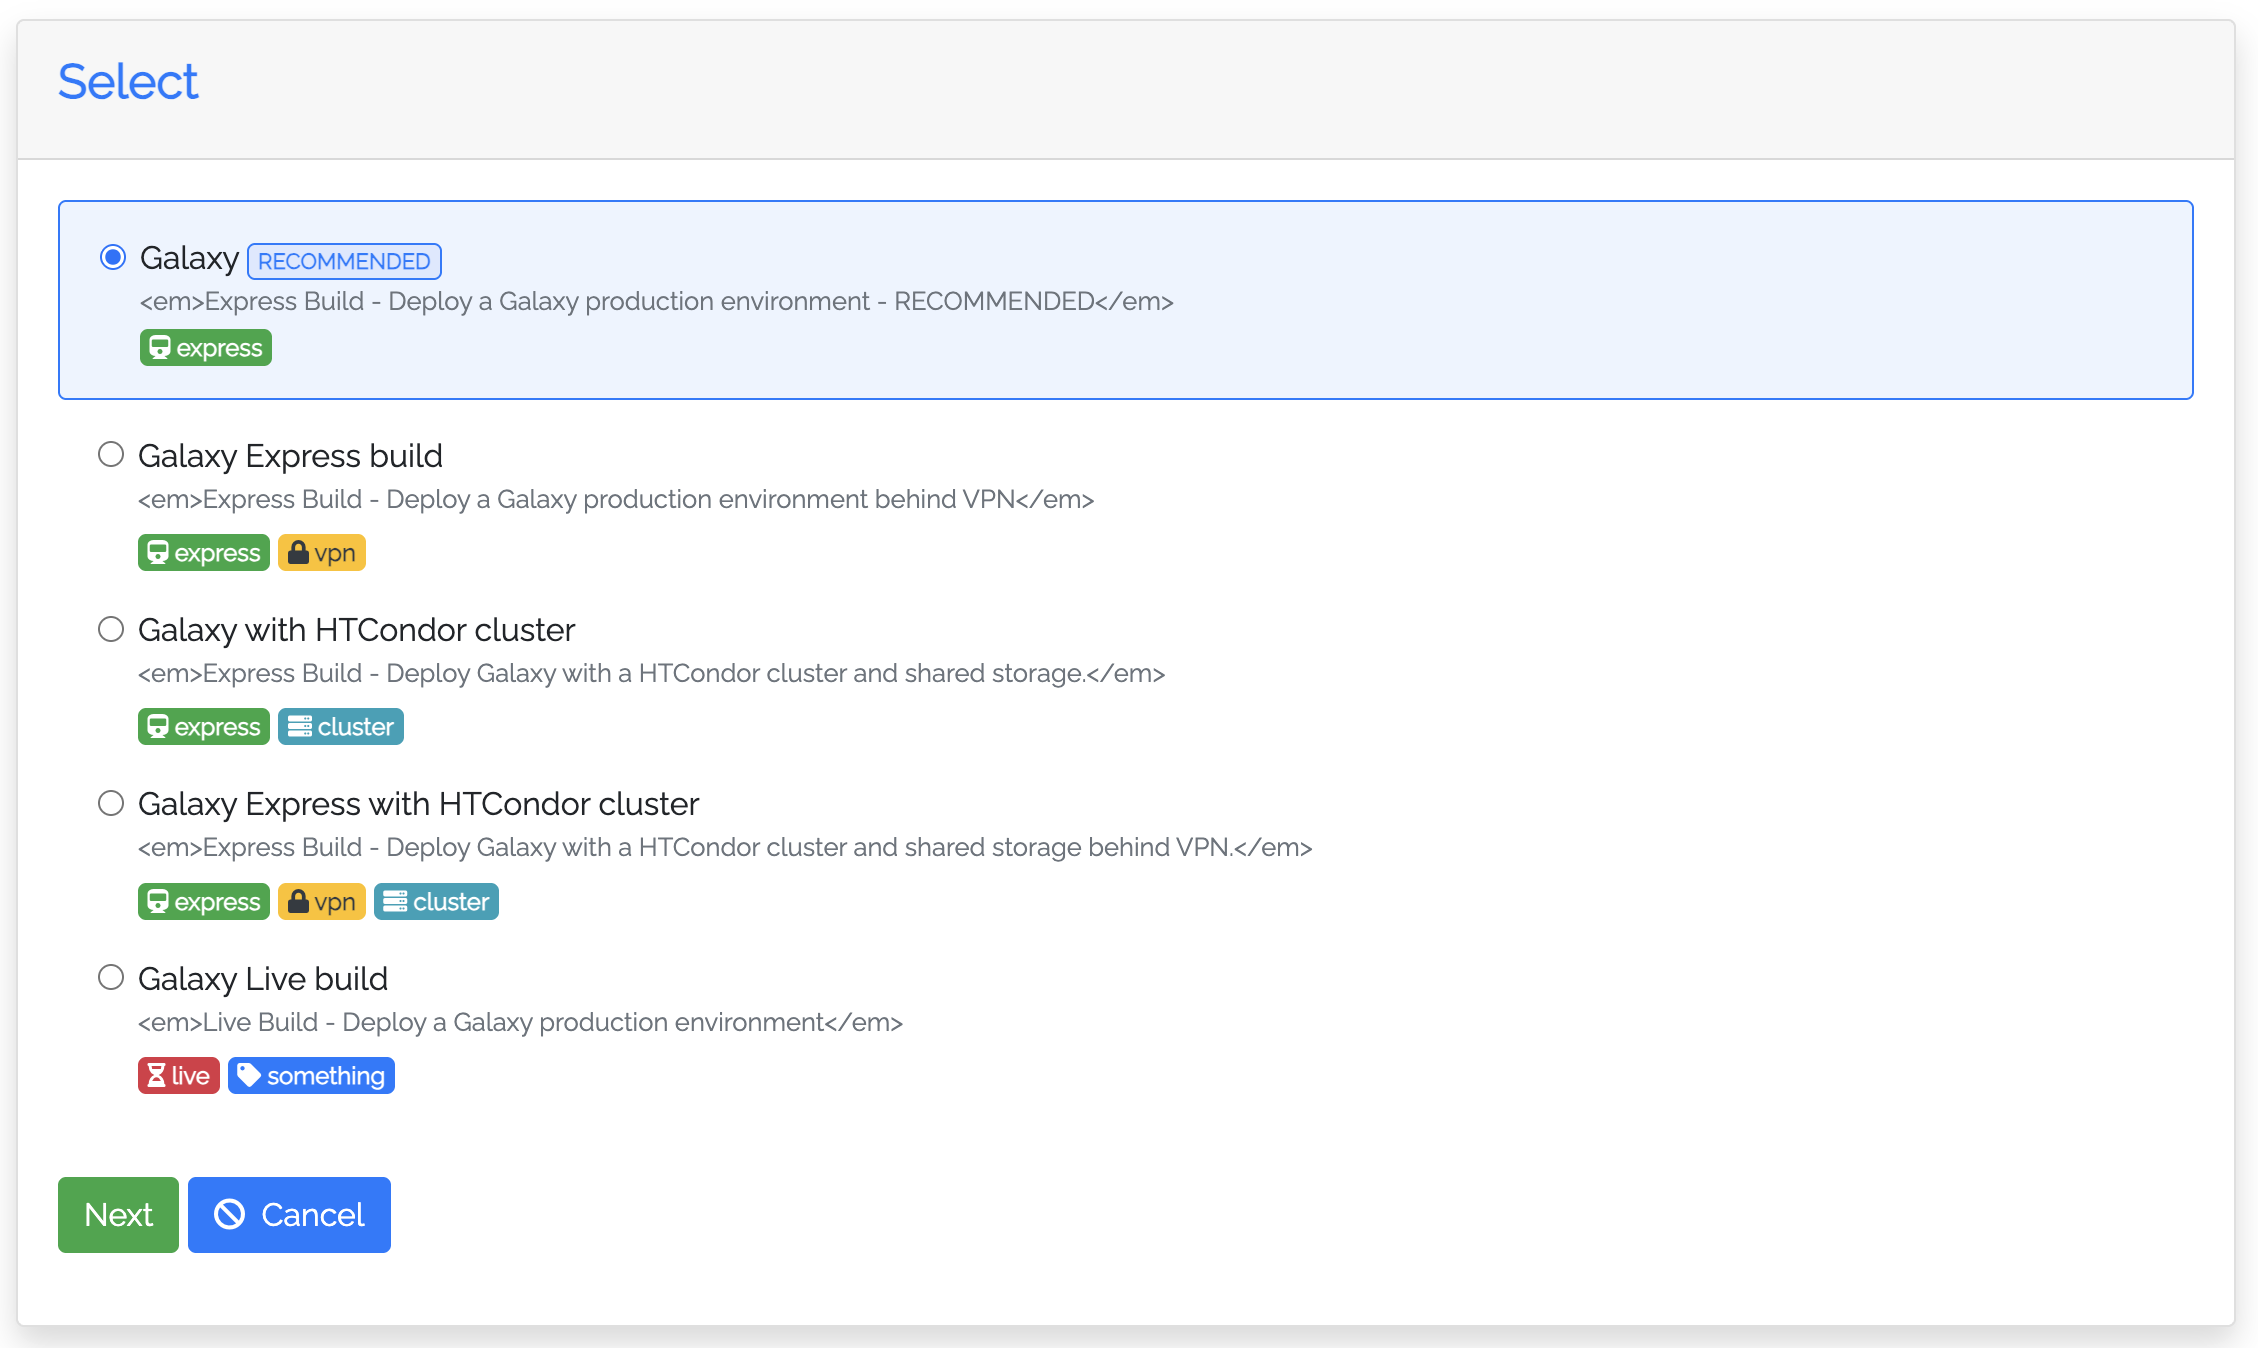
Deploy an application under VPN
To deploy and application under VPN select among those available:
The deployment will follow as usual. Once the Deployment is complete click on details button under Action section, and navigate to Output values.

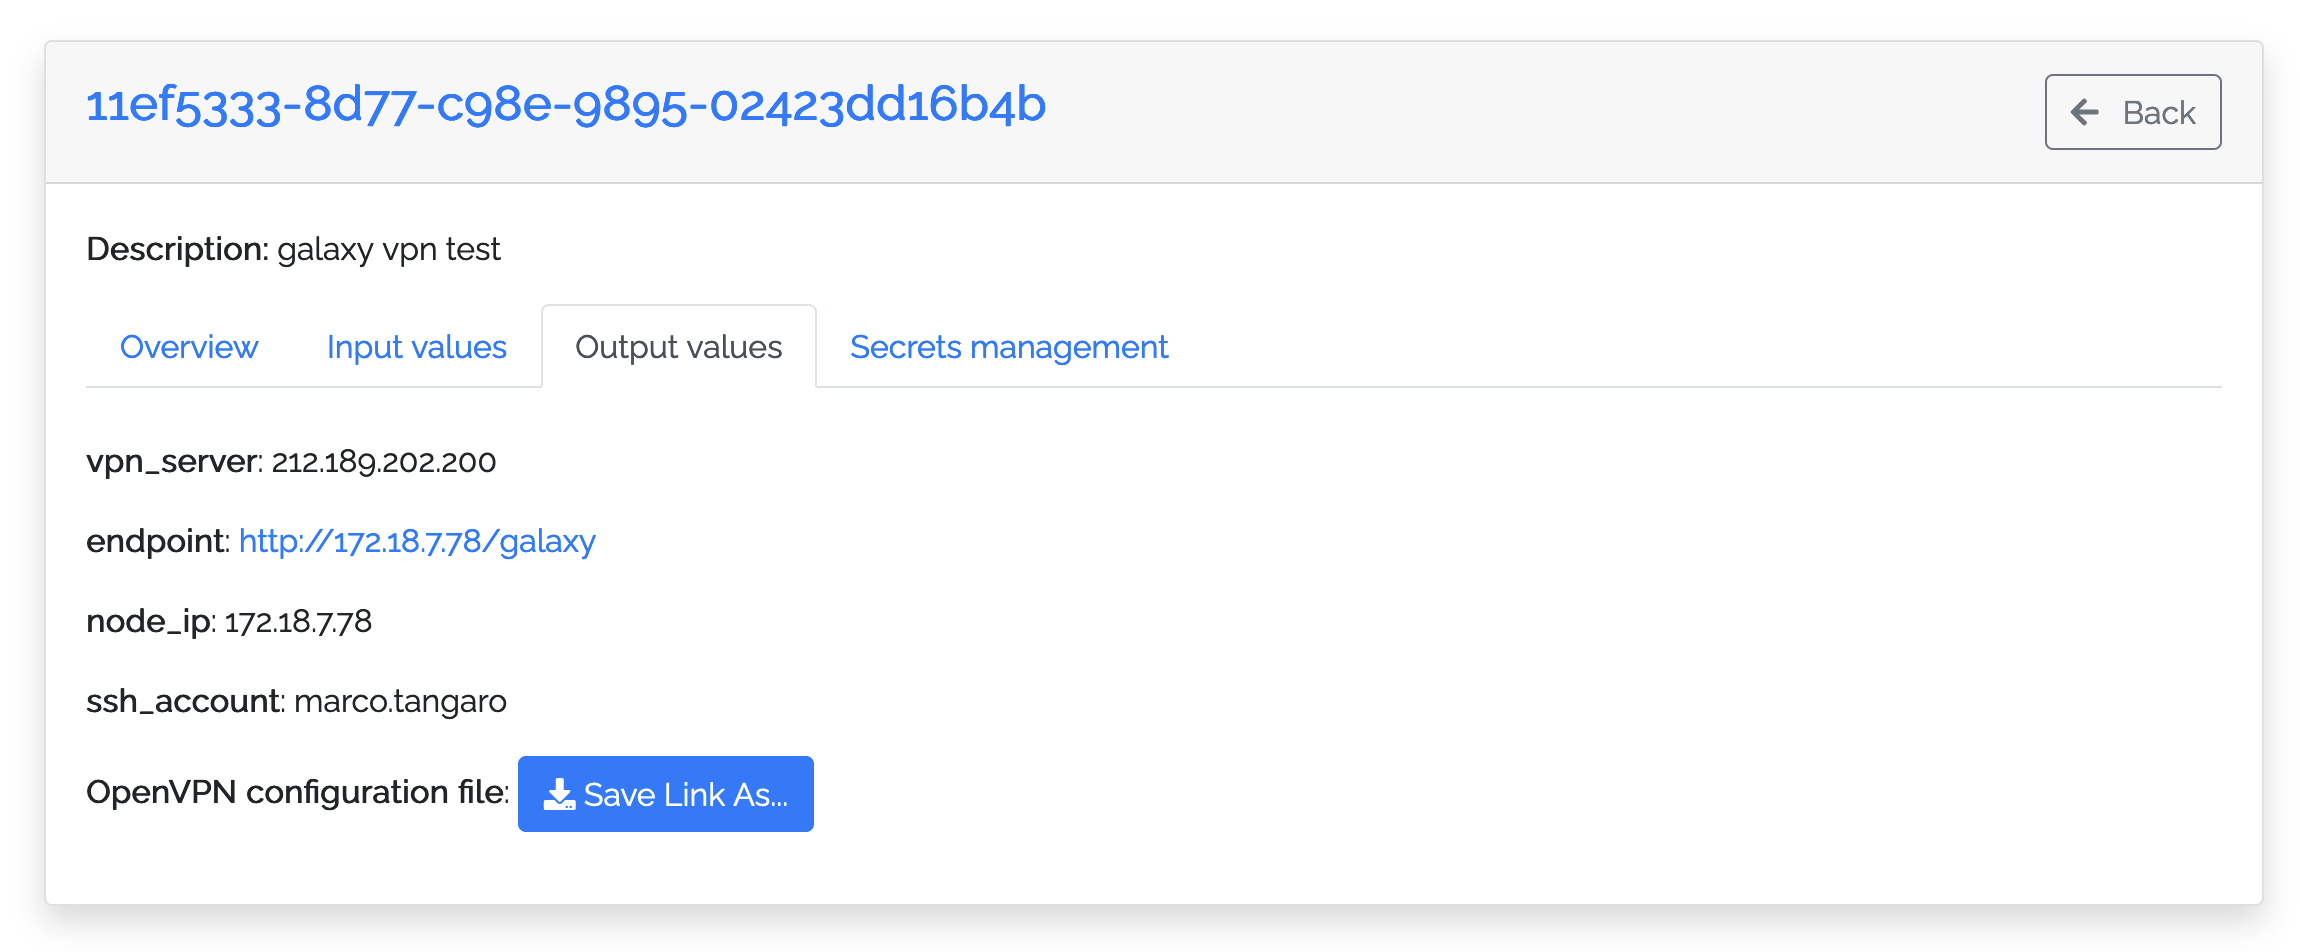
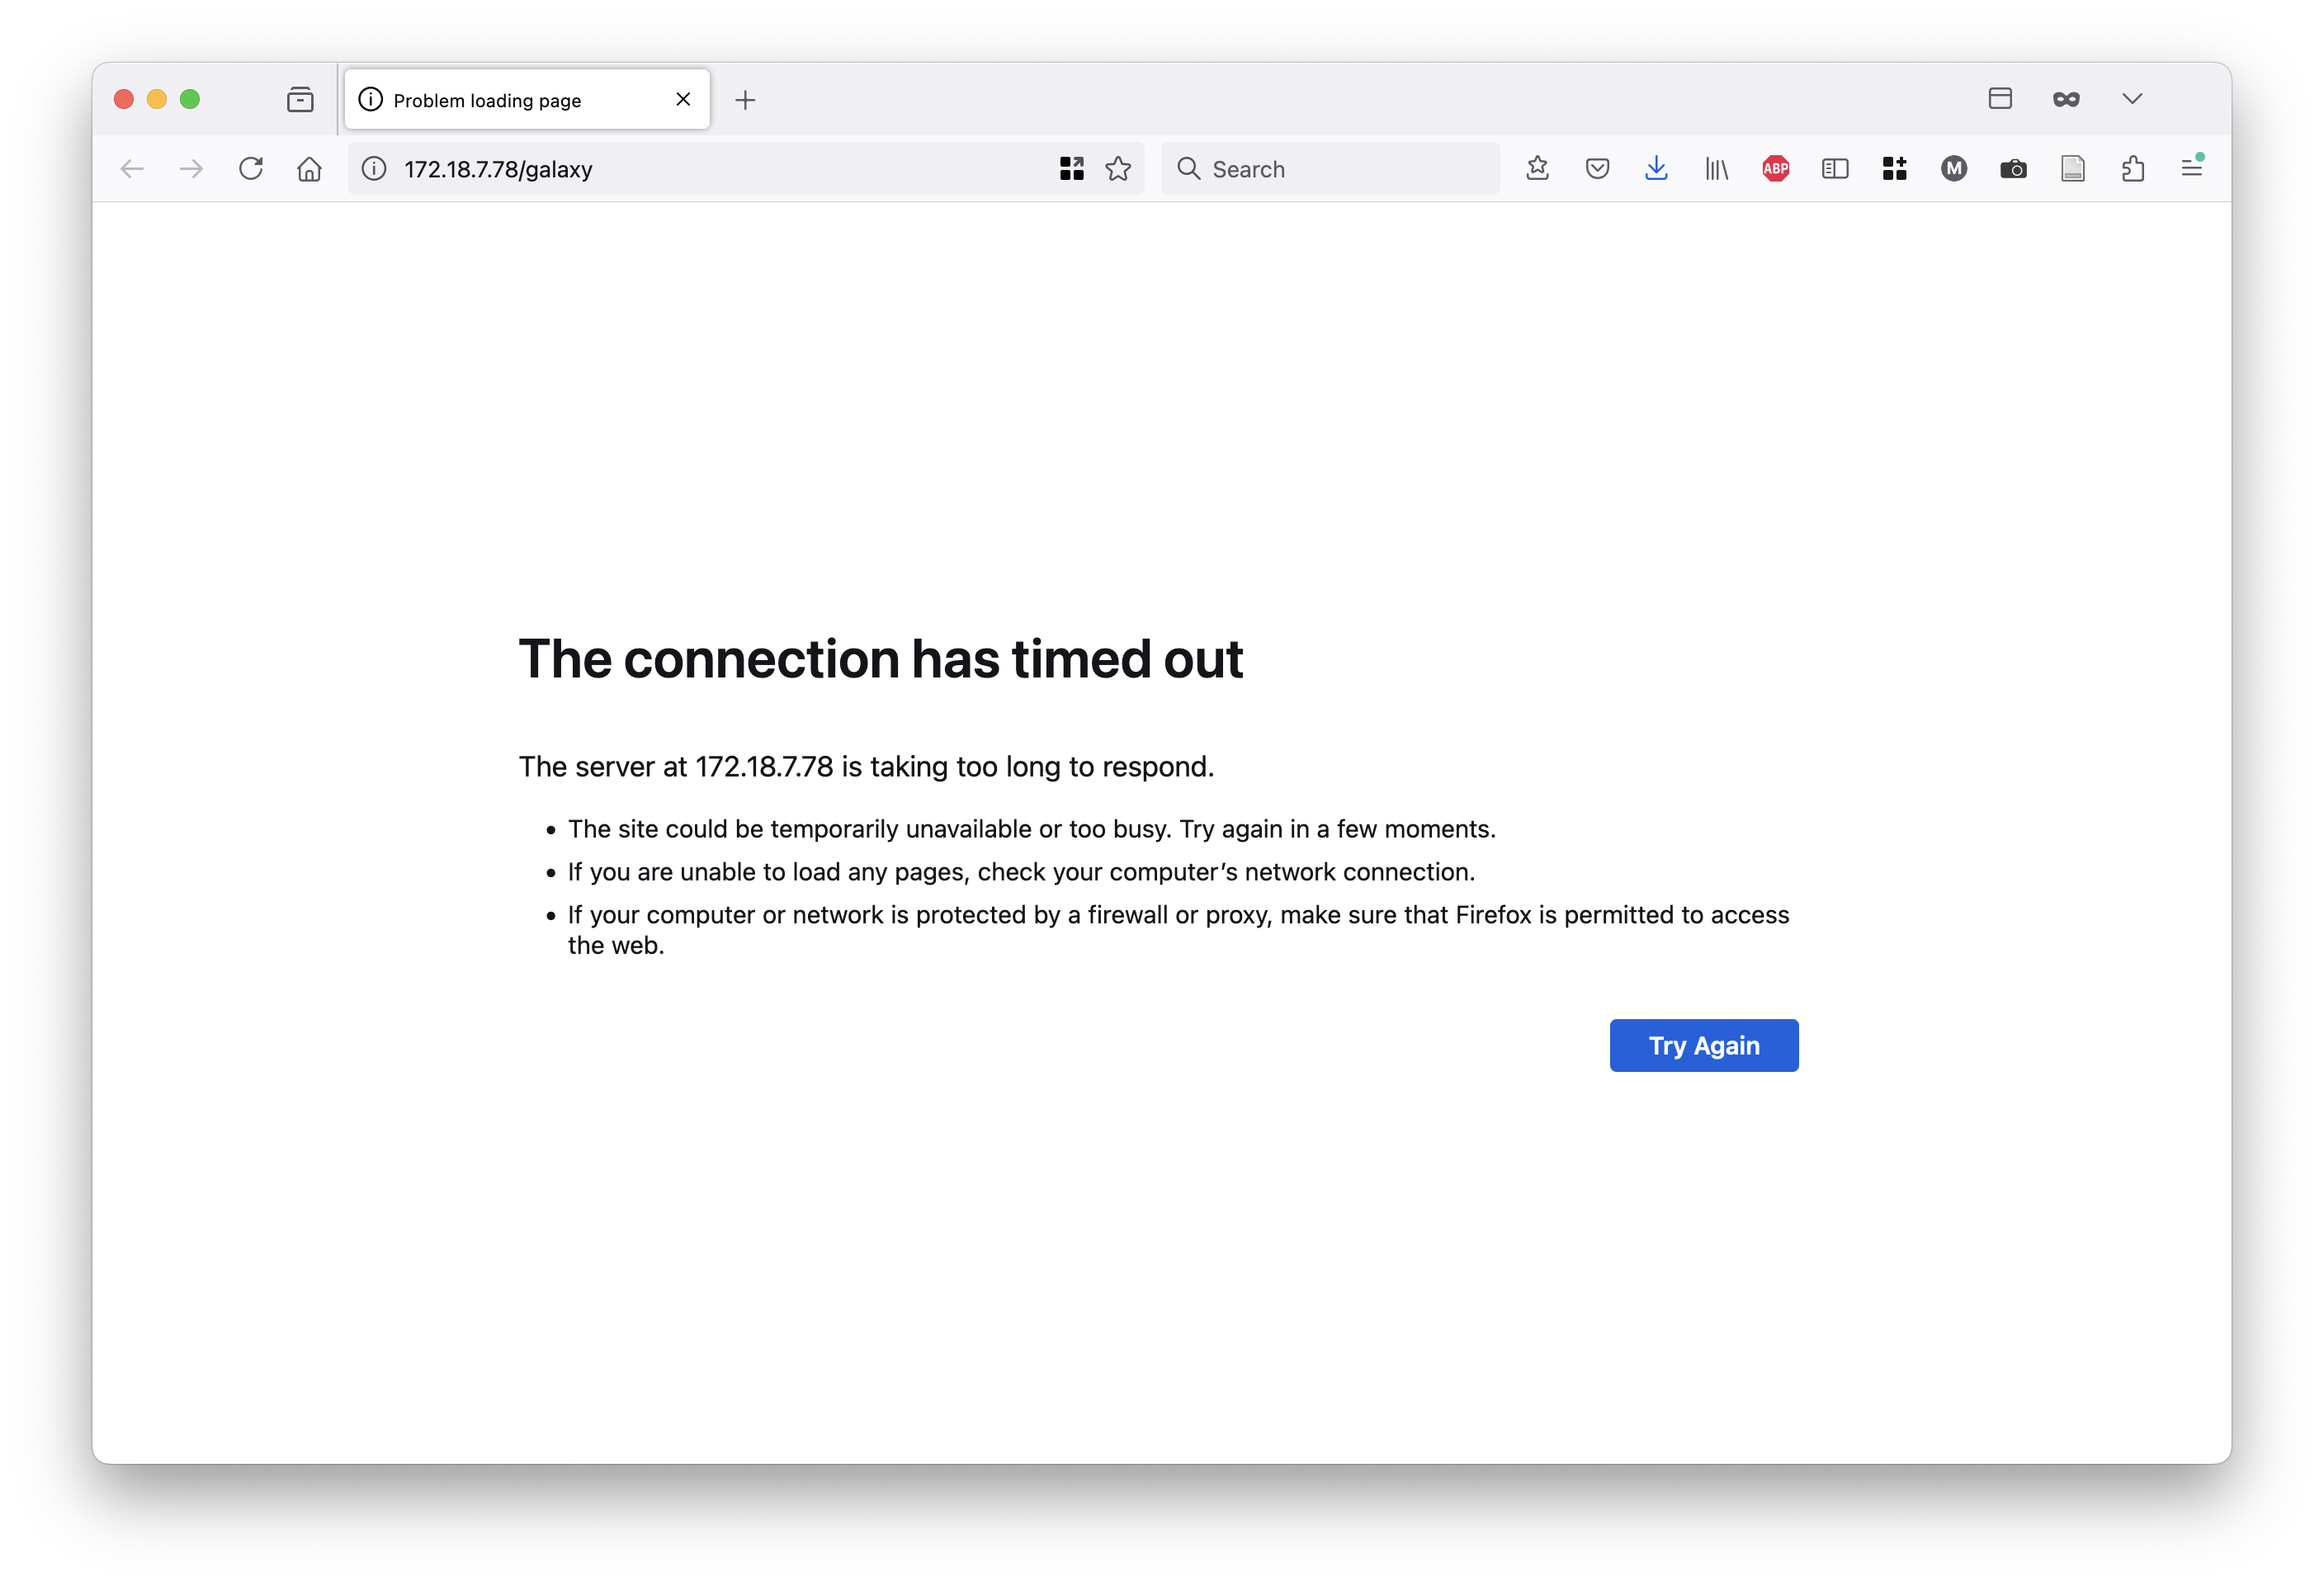
Here if you click the Galaxy url, it is not possible to access it since it wouldn’t be available.
To access it, save the ovpn file on your computer, by clicking on the Save Link As button.
Two possibilities for accessing Galaxy is here explored:
OpenVPN ConnectTunnelblick(suggested for MacOS user)
Note
OpenVPN Connect is not the only valid client option, Tunnelblick can also be used on MacOS (but not on Windows). However, it is essential to use a client that does not prompt for a password before authentication (Later in this guide, we will cover this topic in more detail), so that the login verification code can be received by e-mail.
OpenVPN Connect
To follow this tutorial is necessary that you install the official client application that enables to securely access network resources. We strongly suggest OpenVPN Connect, available on Windows, MacOS and Linux. The steps for OpenVPN Connect are shown below.
Please visit the official OpenVPN CLient page to download the client.
Once you have installed and opened the client you should see the following window:
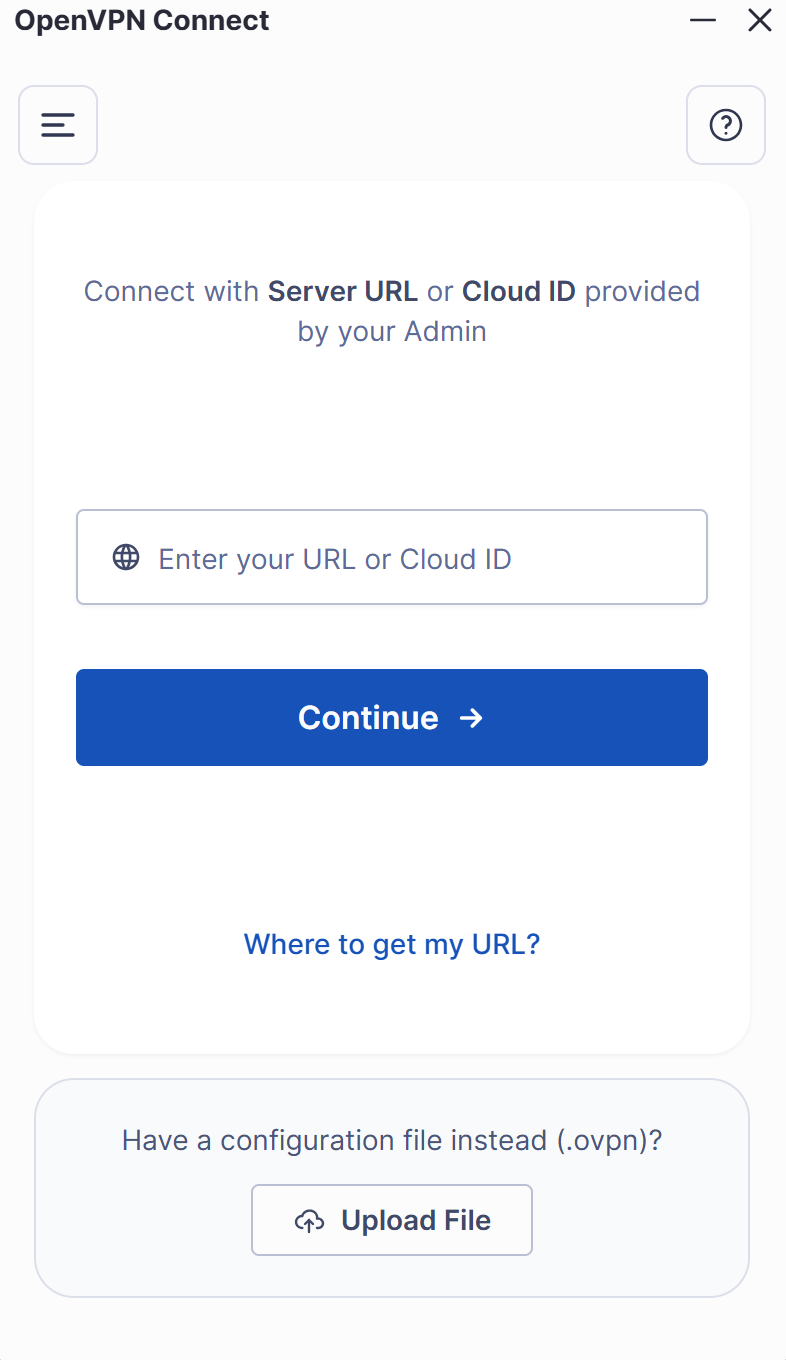
Here, at the bottom of the window, you need to upload the .ovpn file previously created by your Admin, e.g the one called client.ovpn.
Once you have uploaded the file, you will be redirected to the following page:
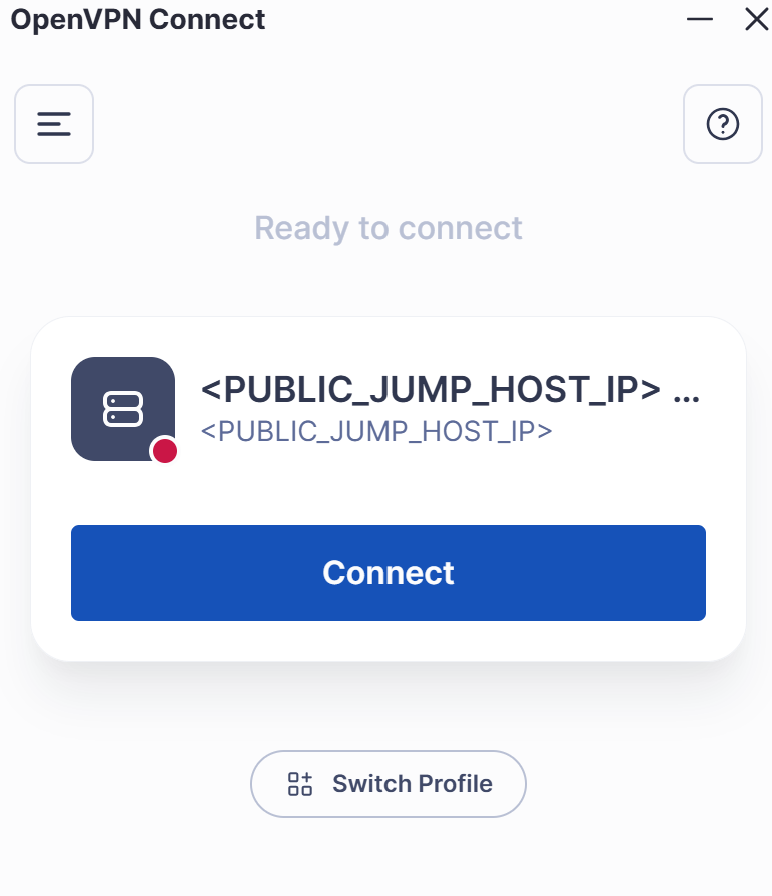
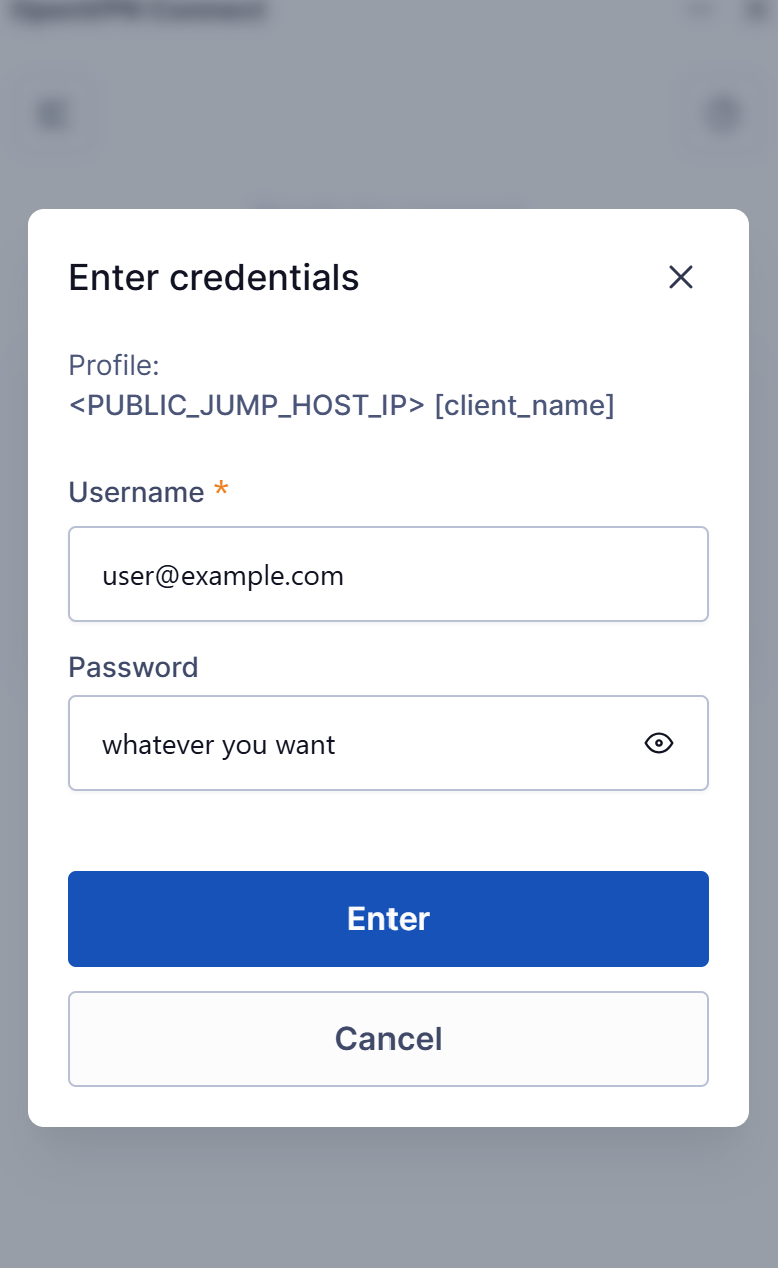
Now you need to click connect and fill the following fields:
Username: use the same email address you use to log in to Laniakea or that was used to invite you to the VPN.
Password: this field is mandatory, but you can enter any value. Please read the warning below carefully.
Warning
Important: We use this client (Tunnelblick also supports this feature) because it allows the user to start the authentication process without requiring a real password. When filling in the login fields, you can enter any string as the password , it is not used for verification.
The only meaningful field is your e-mail address, where the authentication code will be sent.
The password field cannot be left empty, but it can contain any value (e.g. aaaaaaa or password) and can be changed freely at any login.
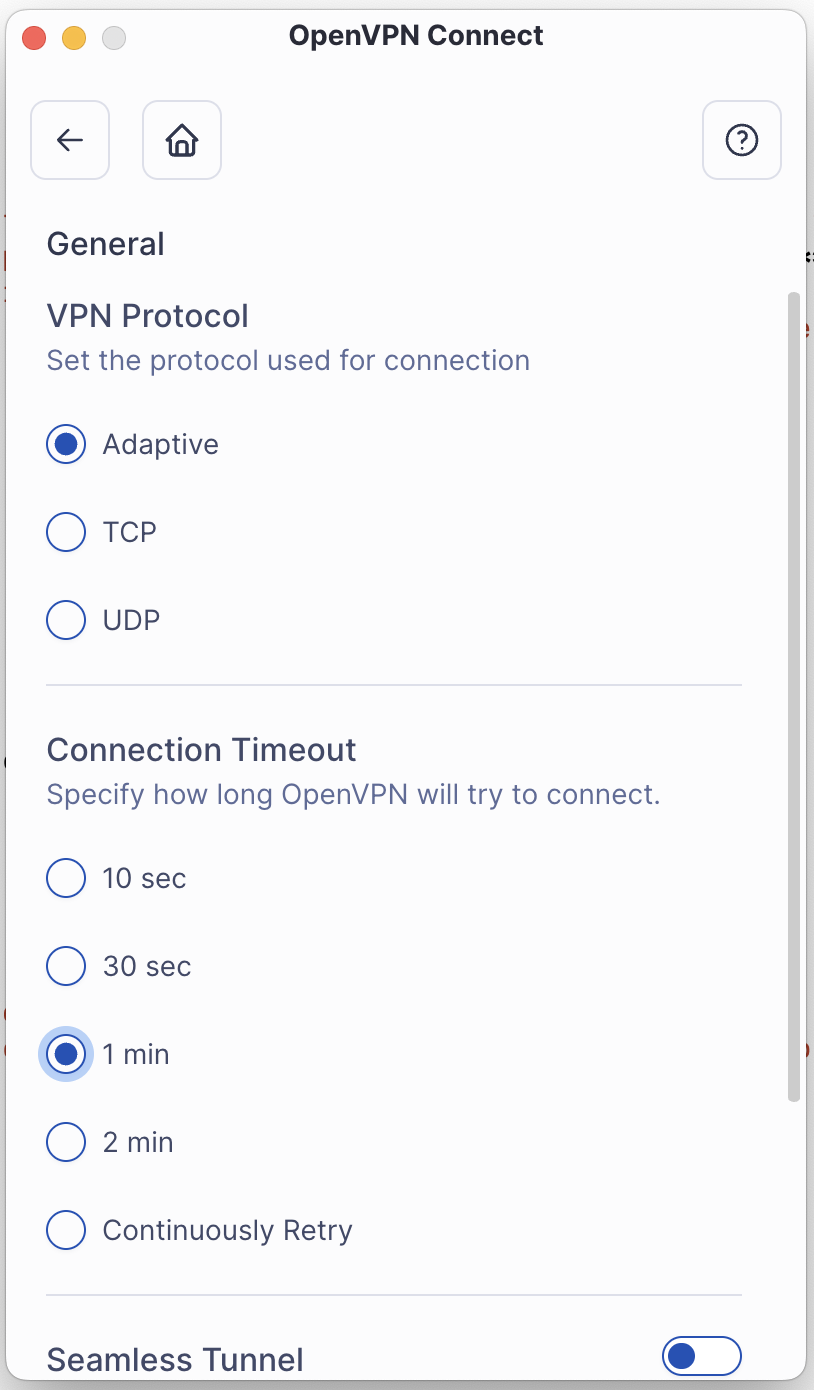
OpenVPN Connect - troubleshooting (2) - Increase OpenVPN Connection Timeout
The Default Connection Timeout in OpenVPN Connect is set to 1 minute. This value may be too short, especially during the login process if the authentication email is delayed.
This is a client-side issue. To fix it:
Settings → General → Connection Timeout → Continuously Retry
OpenVPN Connect - troubleshooting (2) - Missing certificate
When you first configure the connection in OpenVPN Connect, you may see the following prompt:
Tip
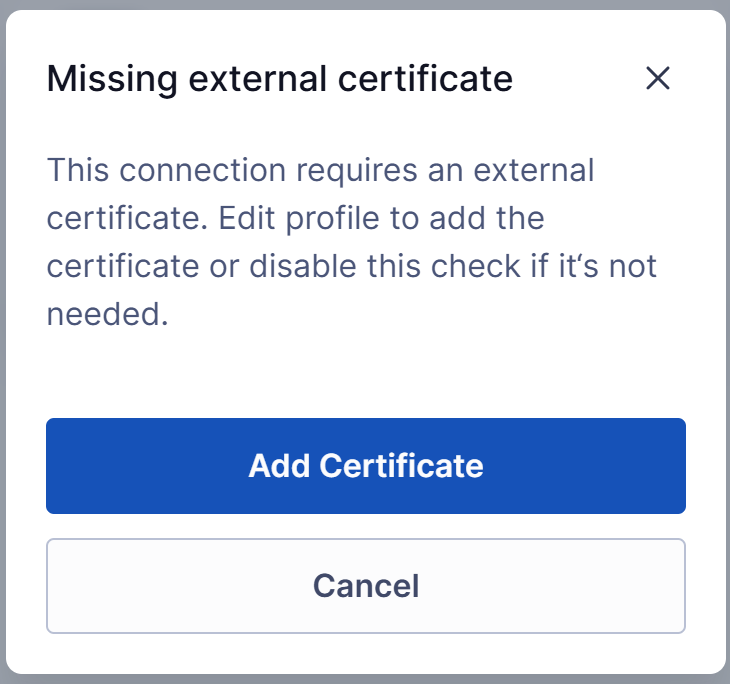
This message appears when the client expects an external certificate for authentication. In our example, this step is not required, so we had simply disabled the “Require External Certificate” option in the connection profile. (you may want to keep it)
Once disabled, you can proceed with the configuration as shown below:
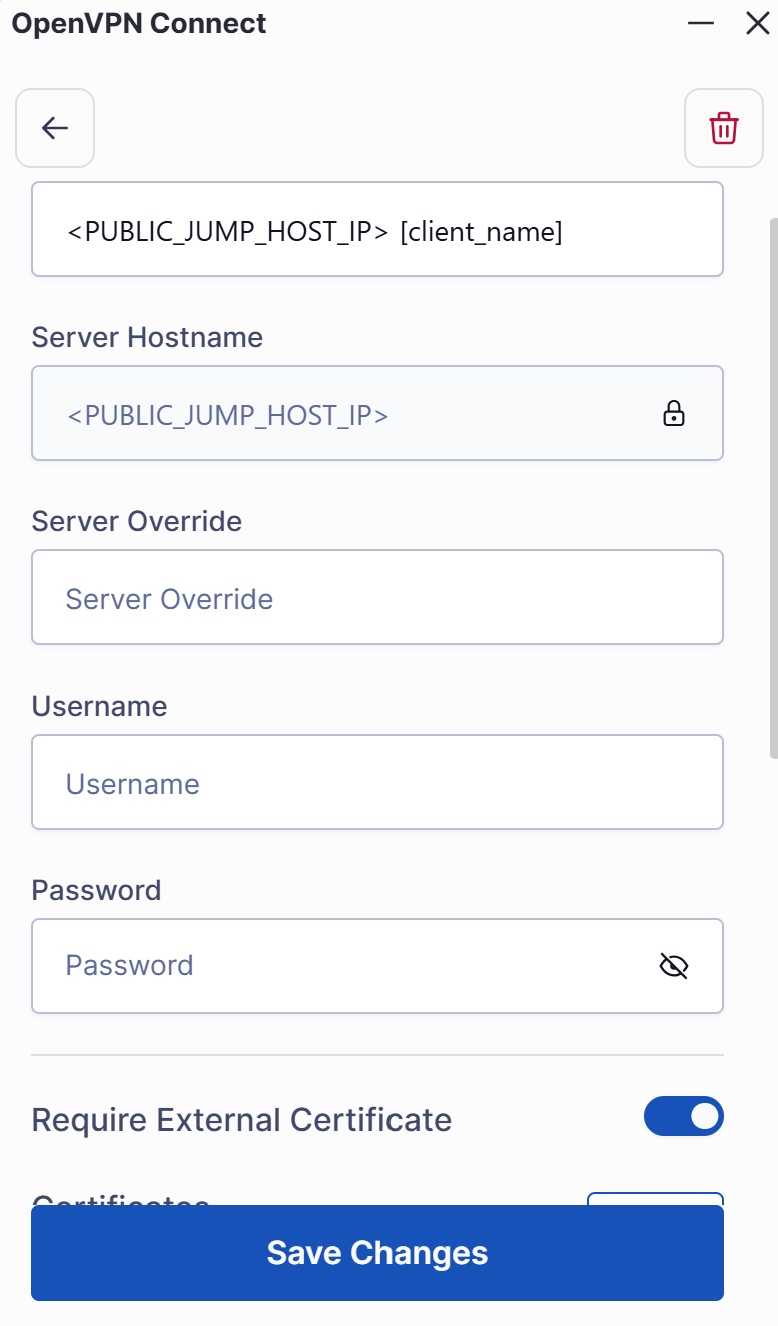
- Make sure to:
Disable the field: Require External Certificate
Click Save Changes to receive the email
Tunnelblick
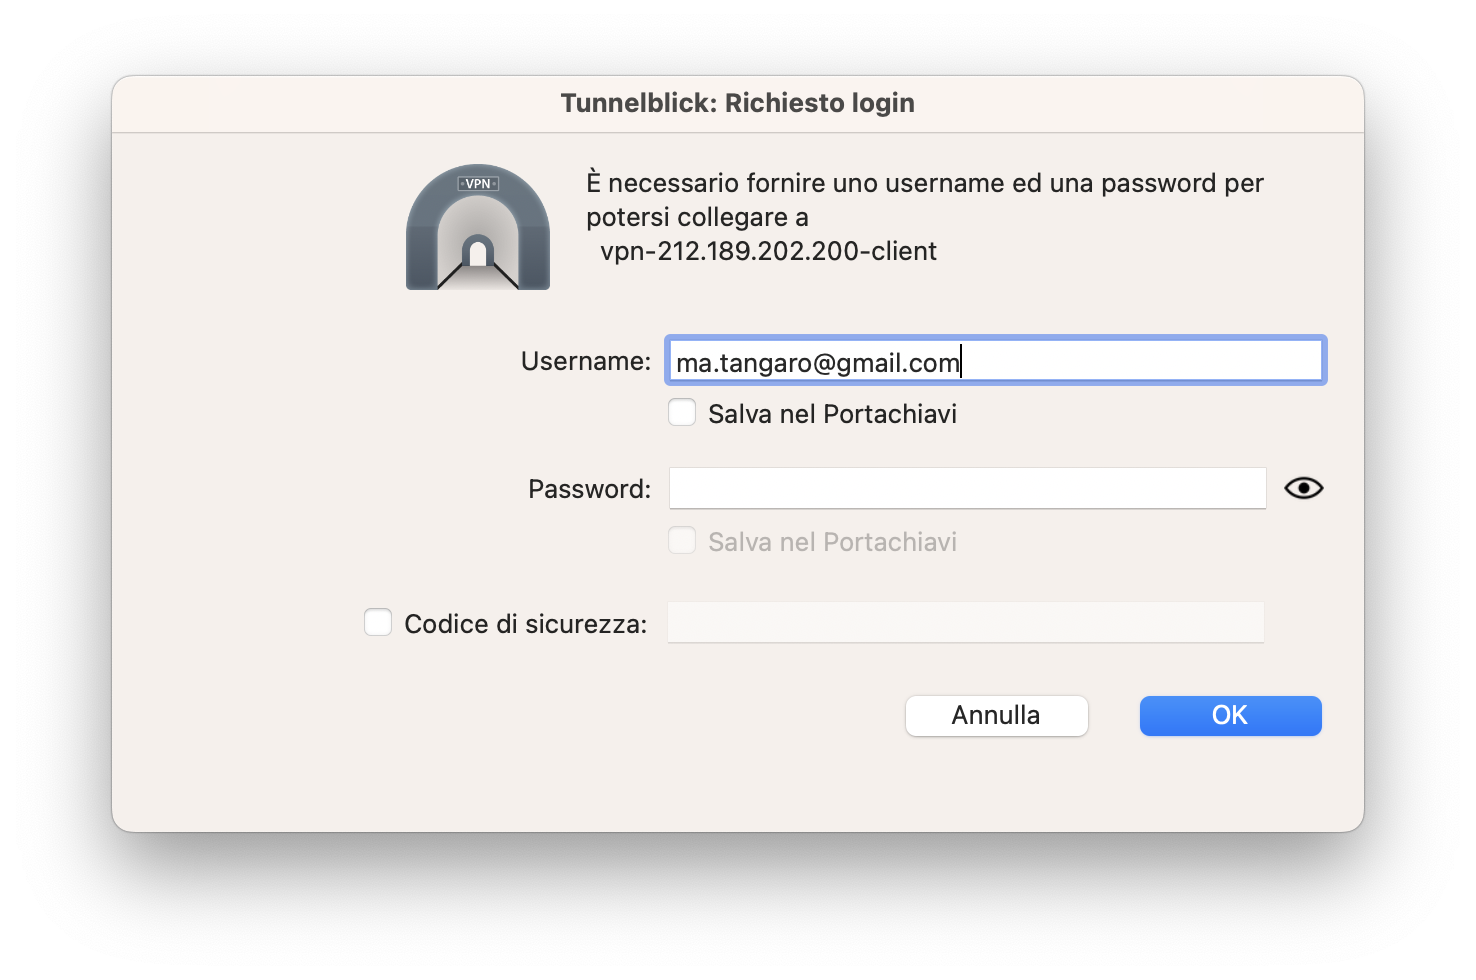
In this case we are showing also tunnelblick, which is available for OSX and Linux systems. Install Tunnelblick and import the OVPN file on your client.
Type your e-mail, the one used to register on Laniakea.
Warning
Only the e-mail is needed, not the passoword! Leave any other filed blank.
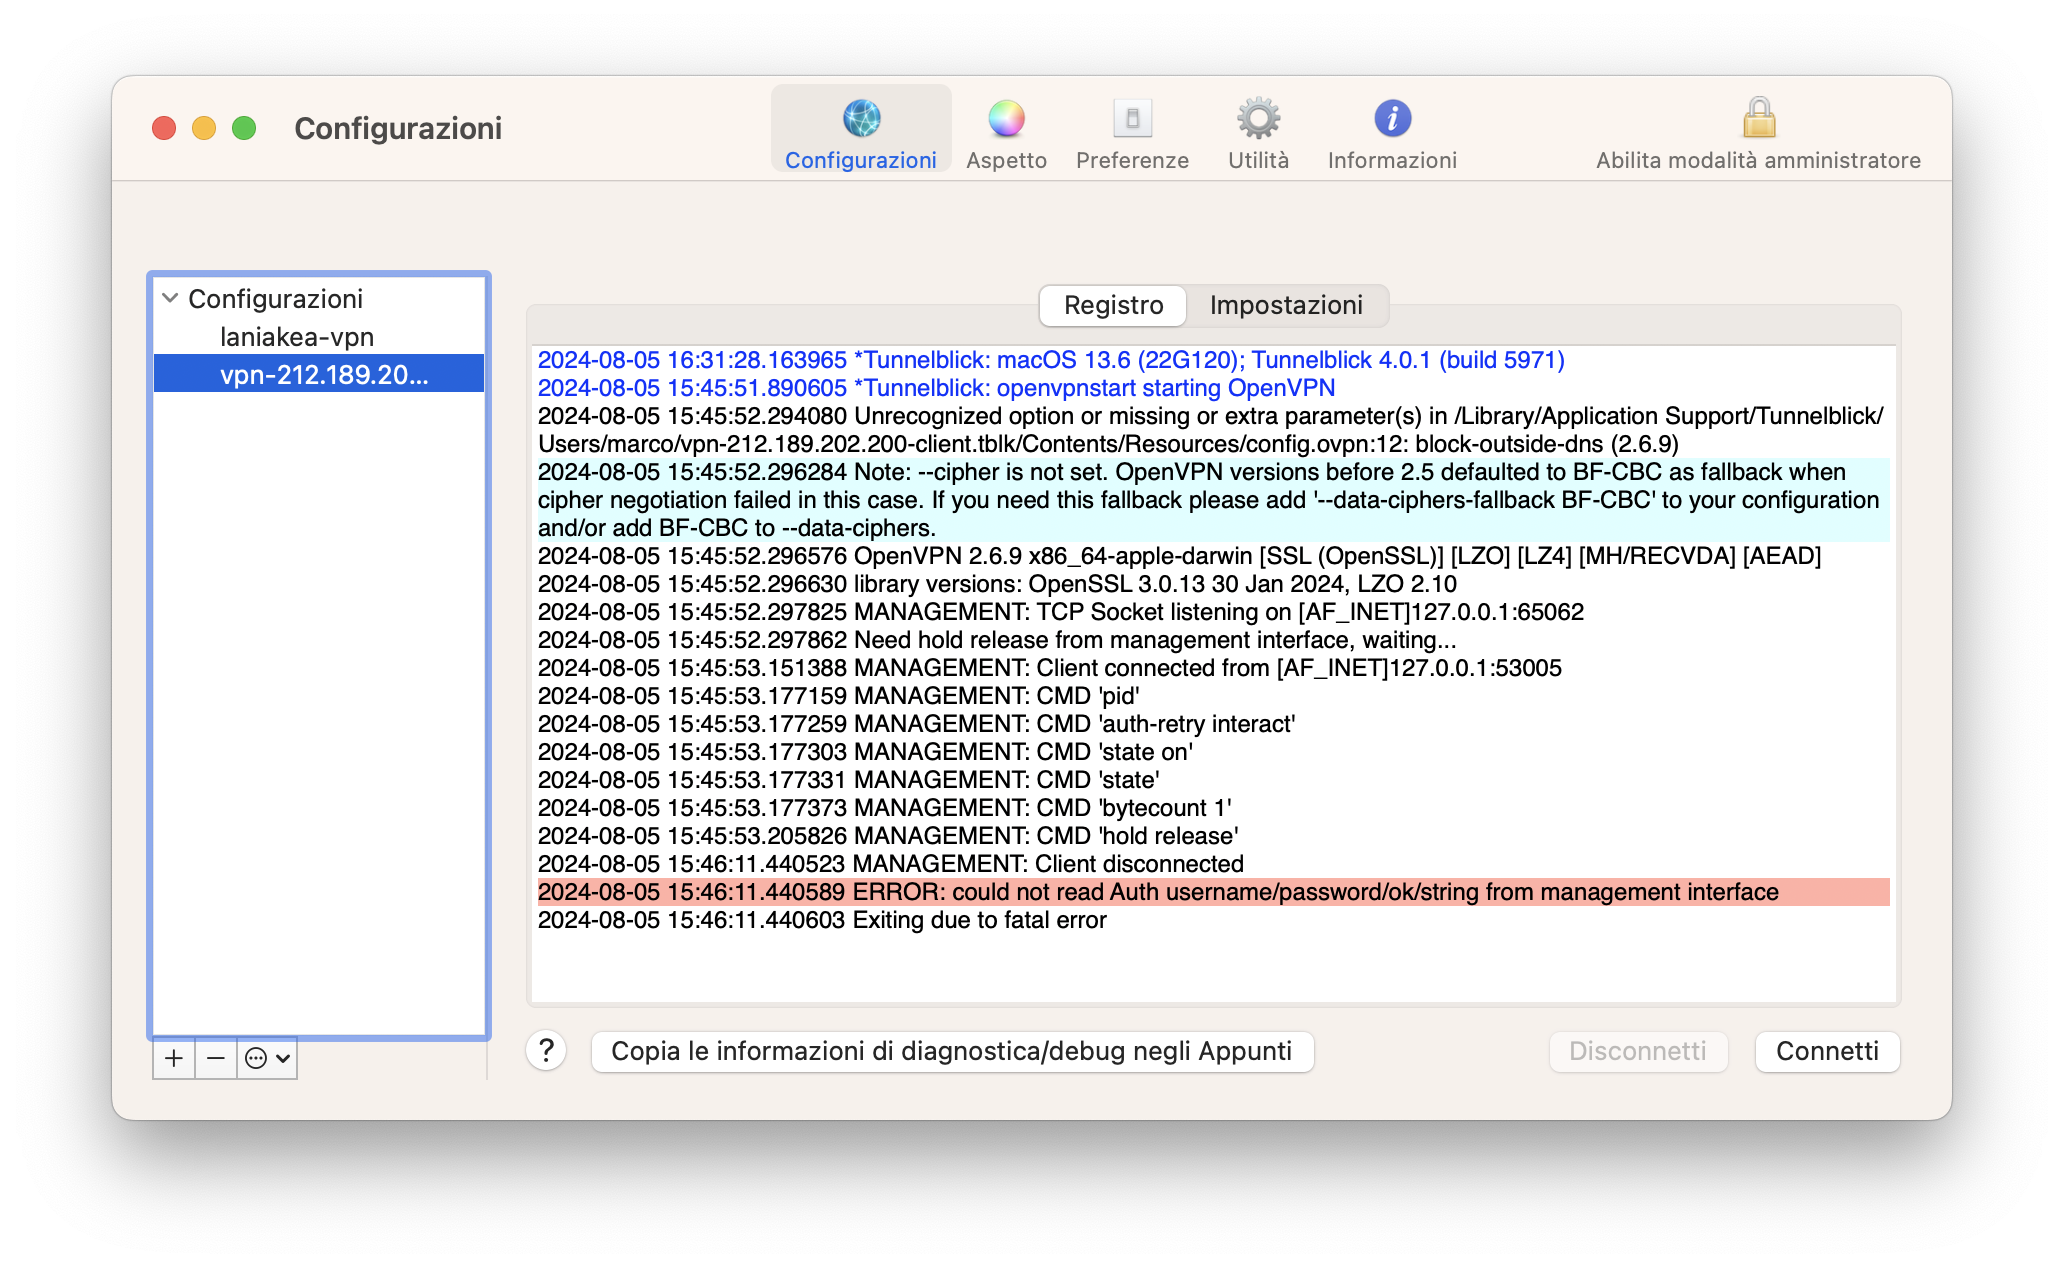
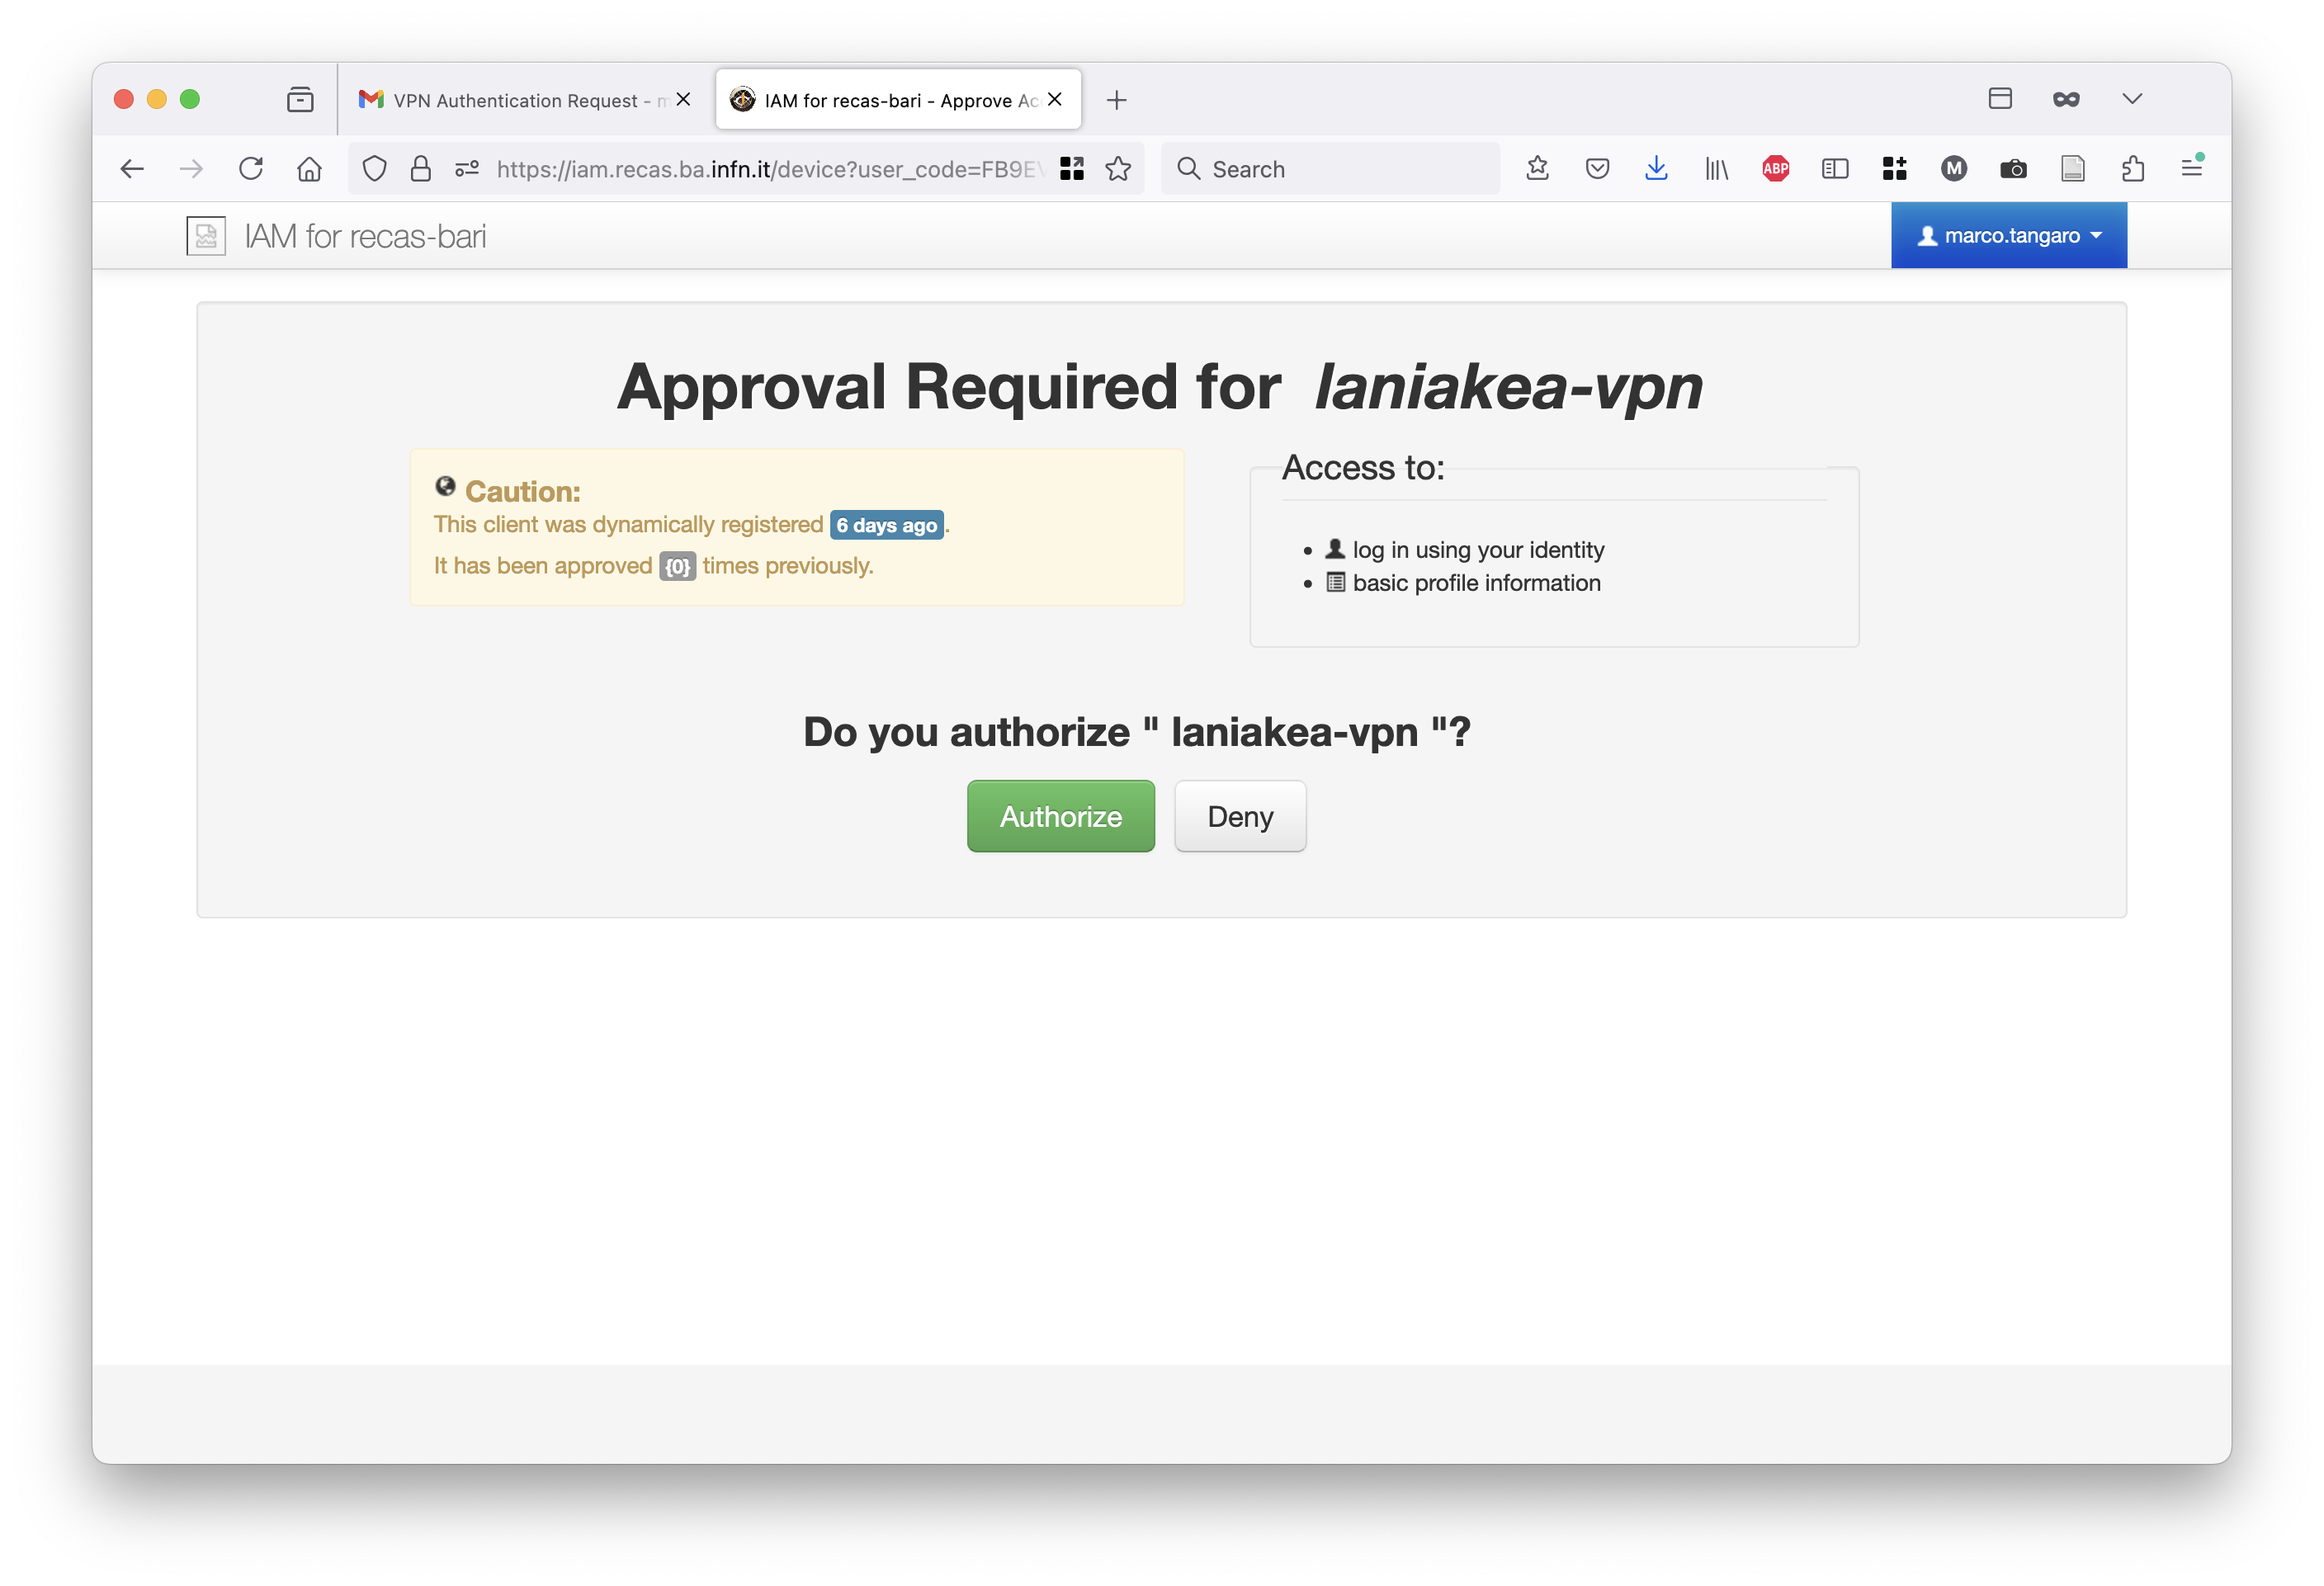
You will receive an e-mail with authentication url. Click on it …
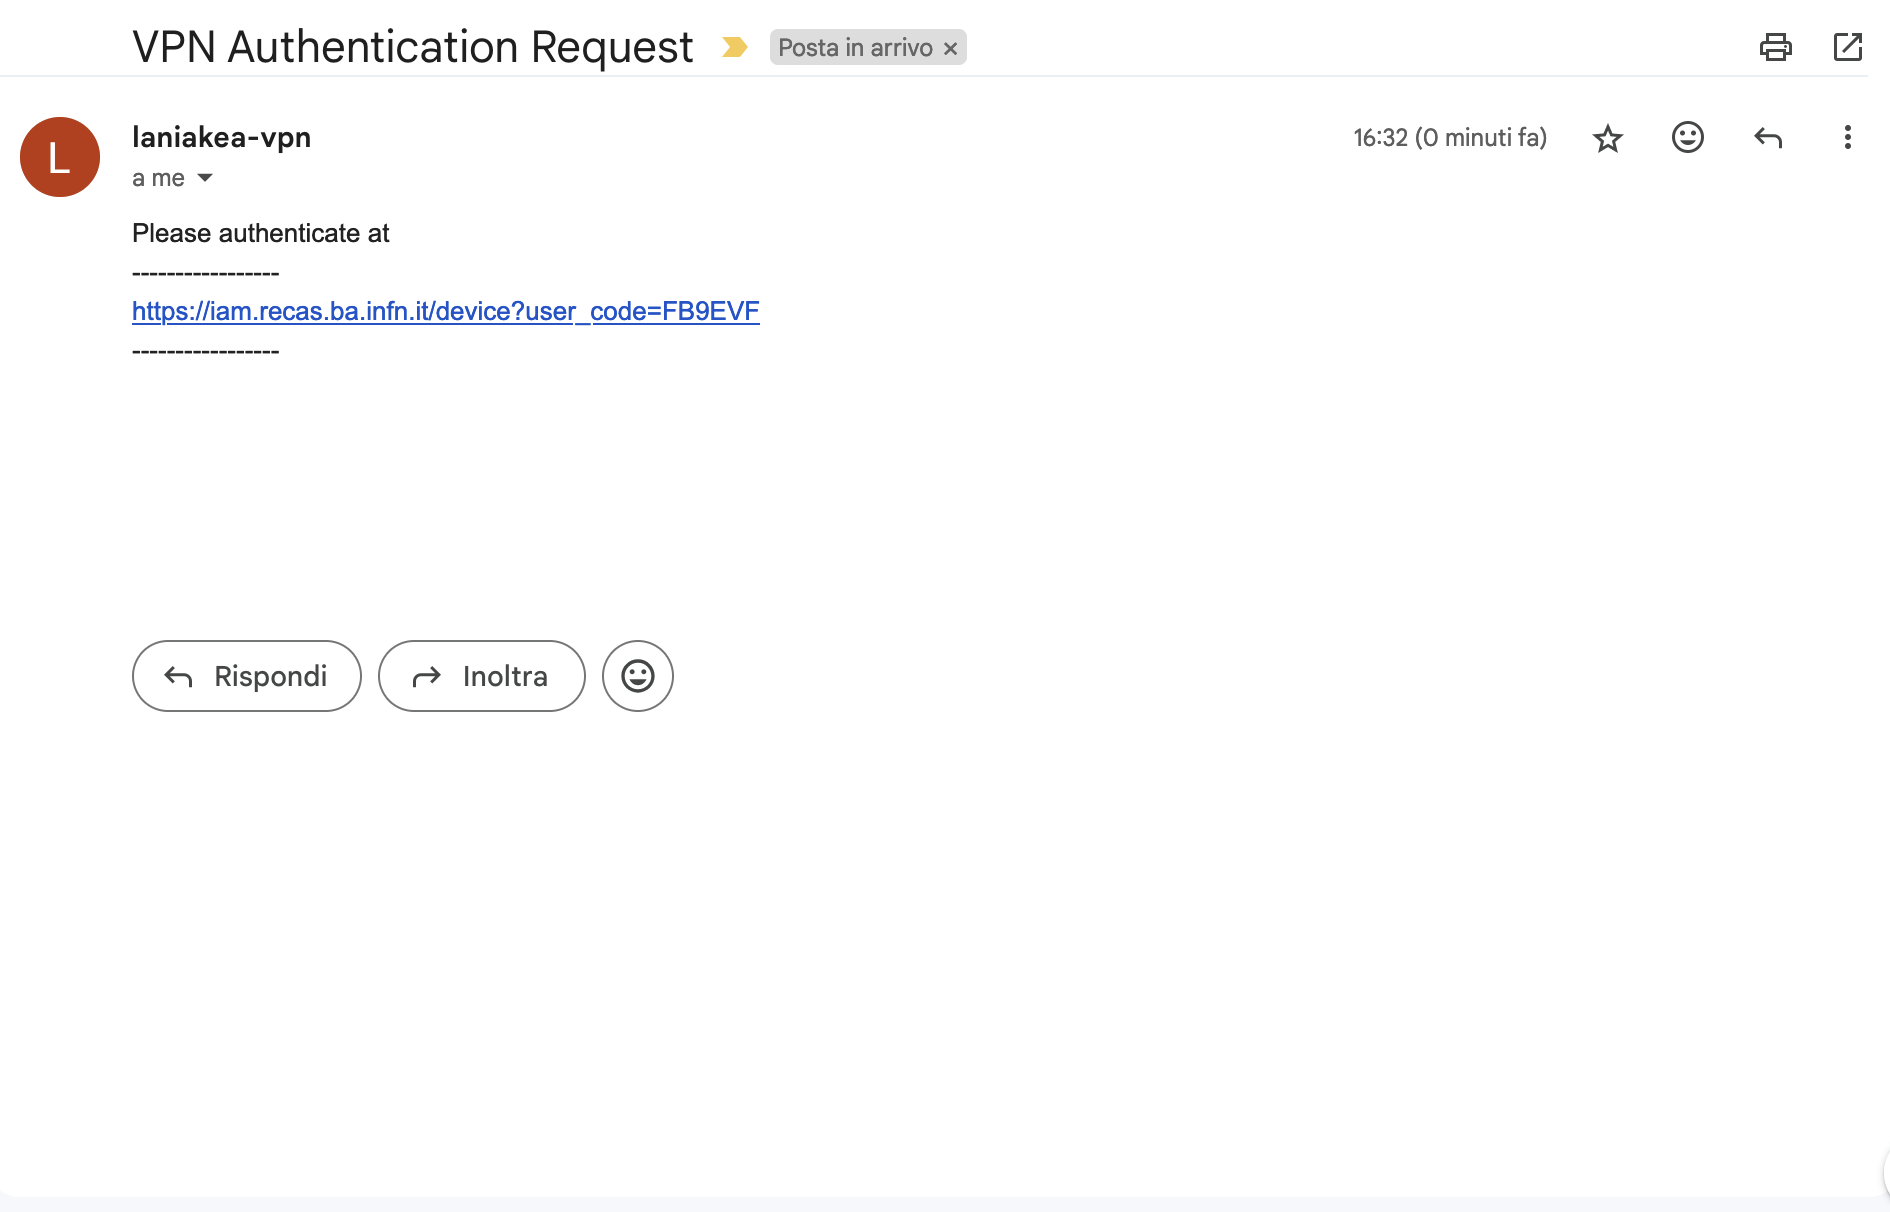
… authenticate and authorize the client.
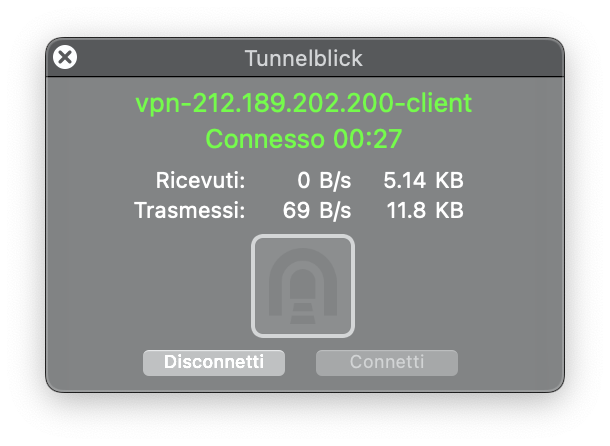
Finally, you’ll see on tunnelblick that your VPN tunnel is working fine.
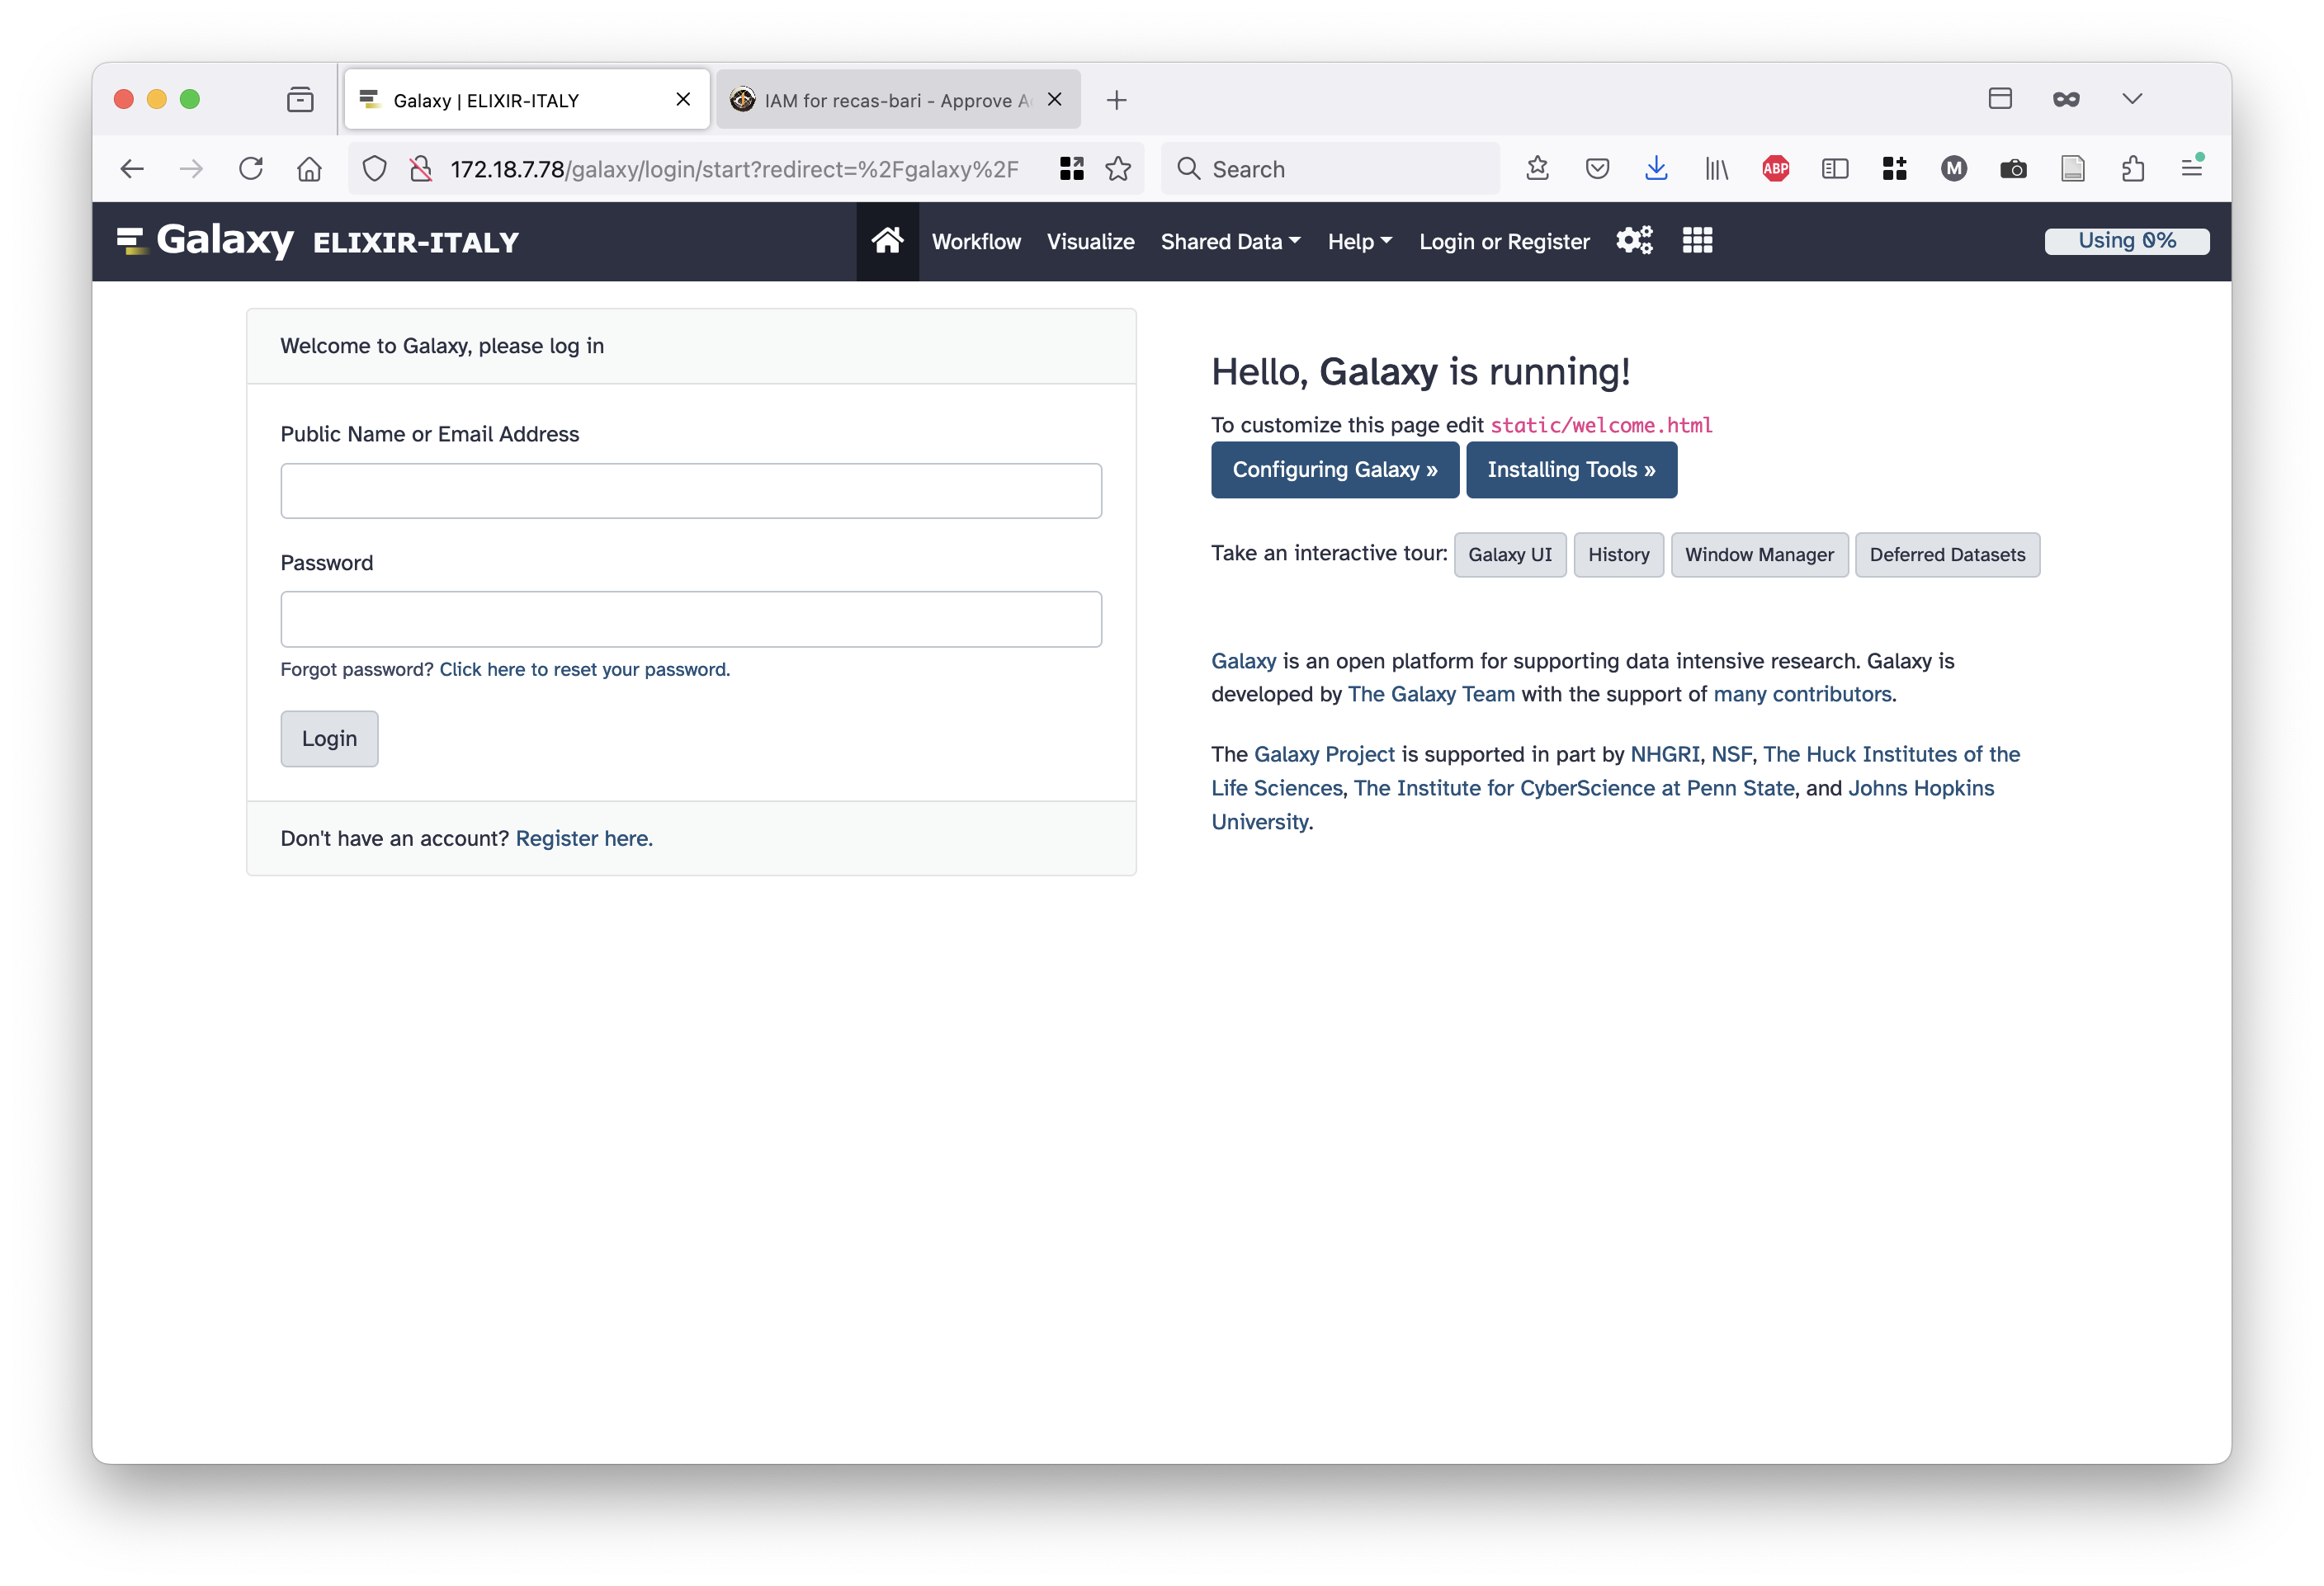
And you can access Galaxy.
Identity and Access Management (IAM)
This section describes how to interact with and register for each of the primary Identity Providers and authorization systems. These systems enable users to verify their identity and demonstrate their access permissions. To start you have to posses a valid account to one of the following Authentication and Authorization Infrastructure (AAI):
- EGI Check-in: The main proxy service for EGI resources.
EGI Production: For real research activities and stable deployments. Egi-production Link
EGI Demo: A sandbox environment for tutorials and testing. Egi-Demo Link
EGI Dev: Dedicated to developers for testing new features. Egi-Dev Link
Life Science AAI (LS AAI): The authentication infrastructure dedicated to the Life Science community. LS AAI Link
INDIGO IAM: The Identity and Access Management service (e.g., RECAS instance) for fine-grained authorization.
Warning
Here it is essential to coordinate with your Admin to manage authorization requests and ensure resource accessibility.
EGI Check-in
EGI Check-in is the main gateway to access the platform’s distributed resources. It acts as a bridge between your institutional identity and the scientific services.
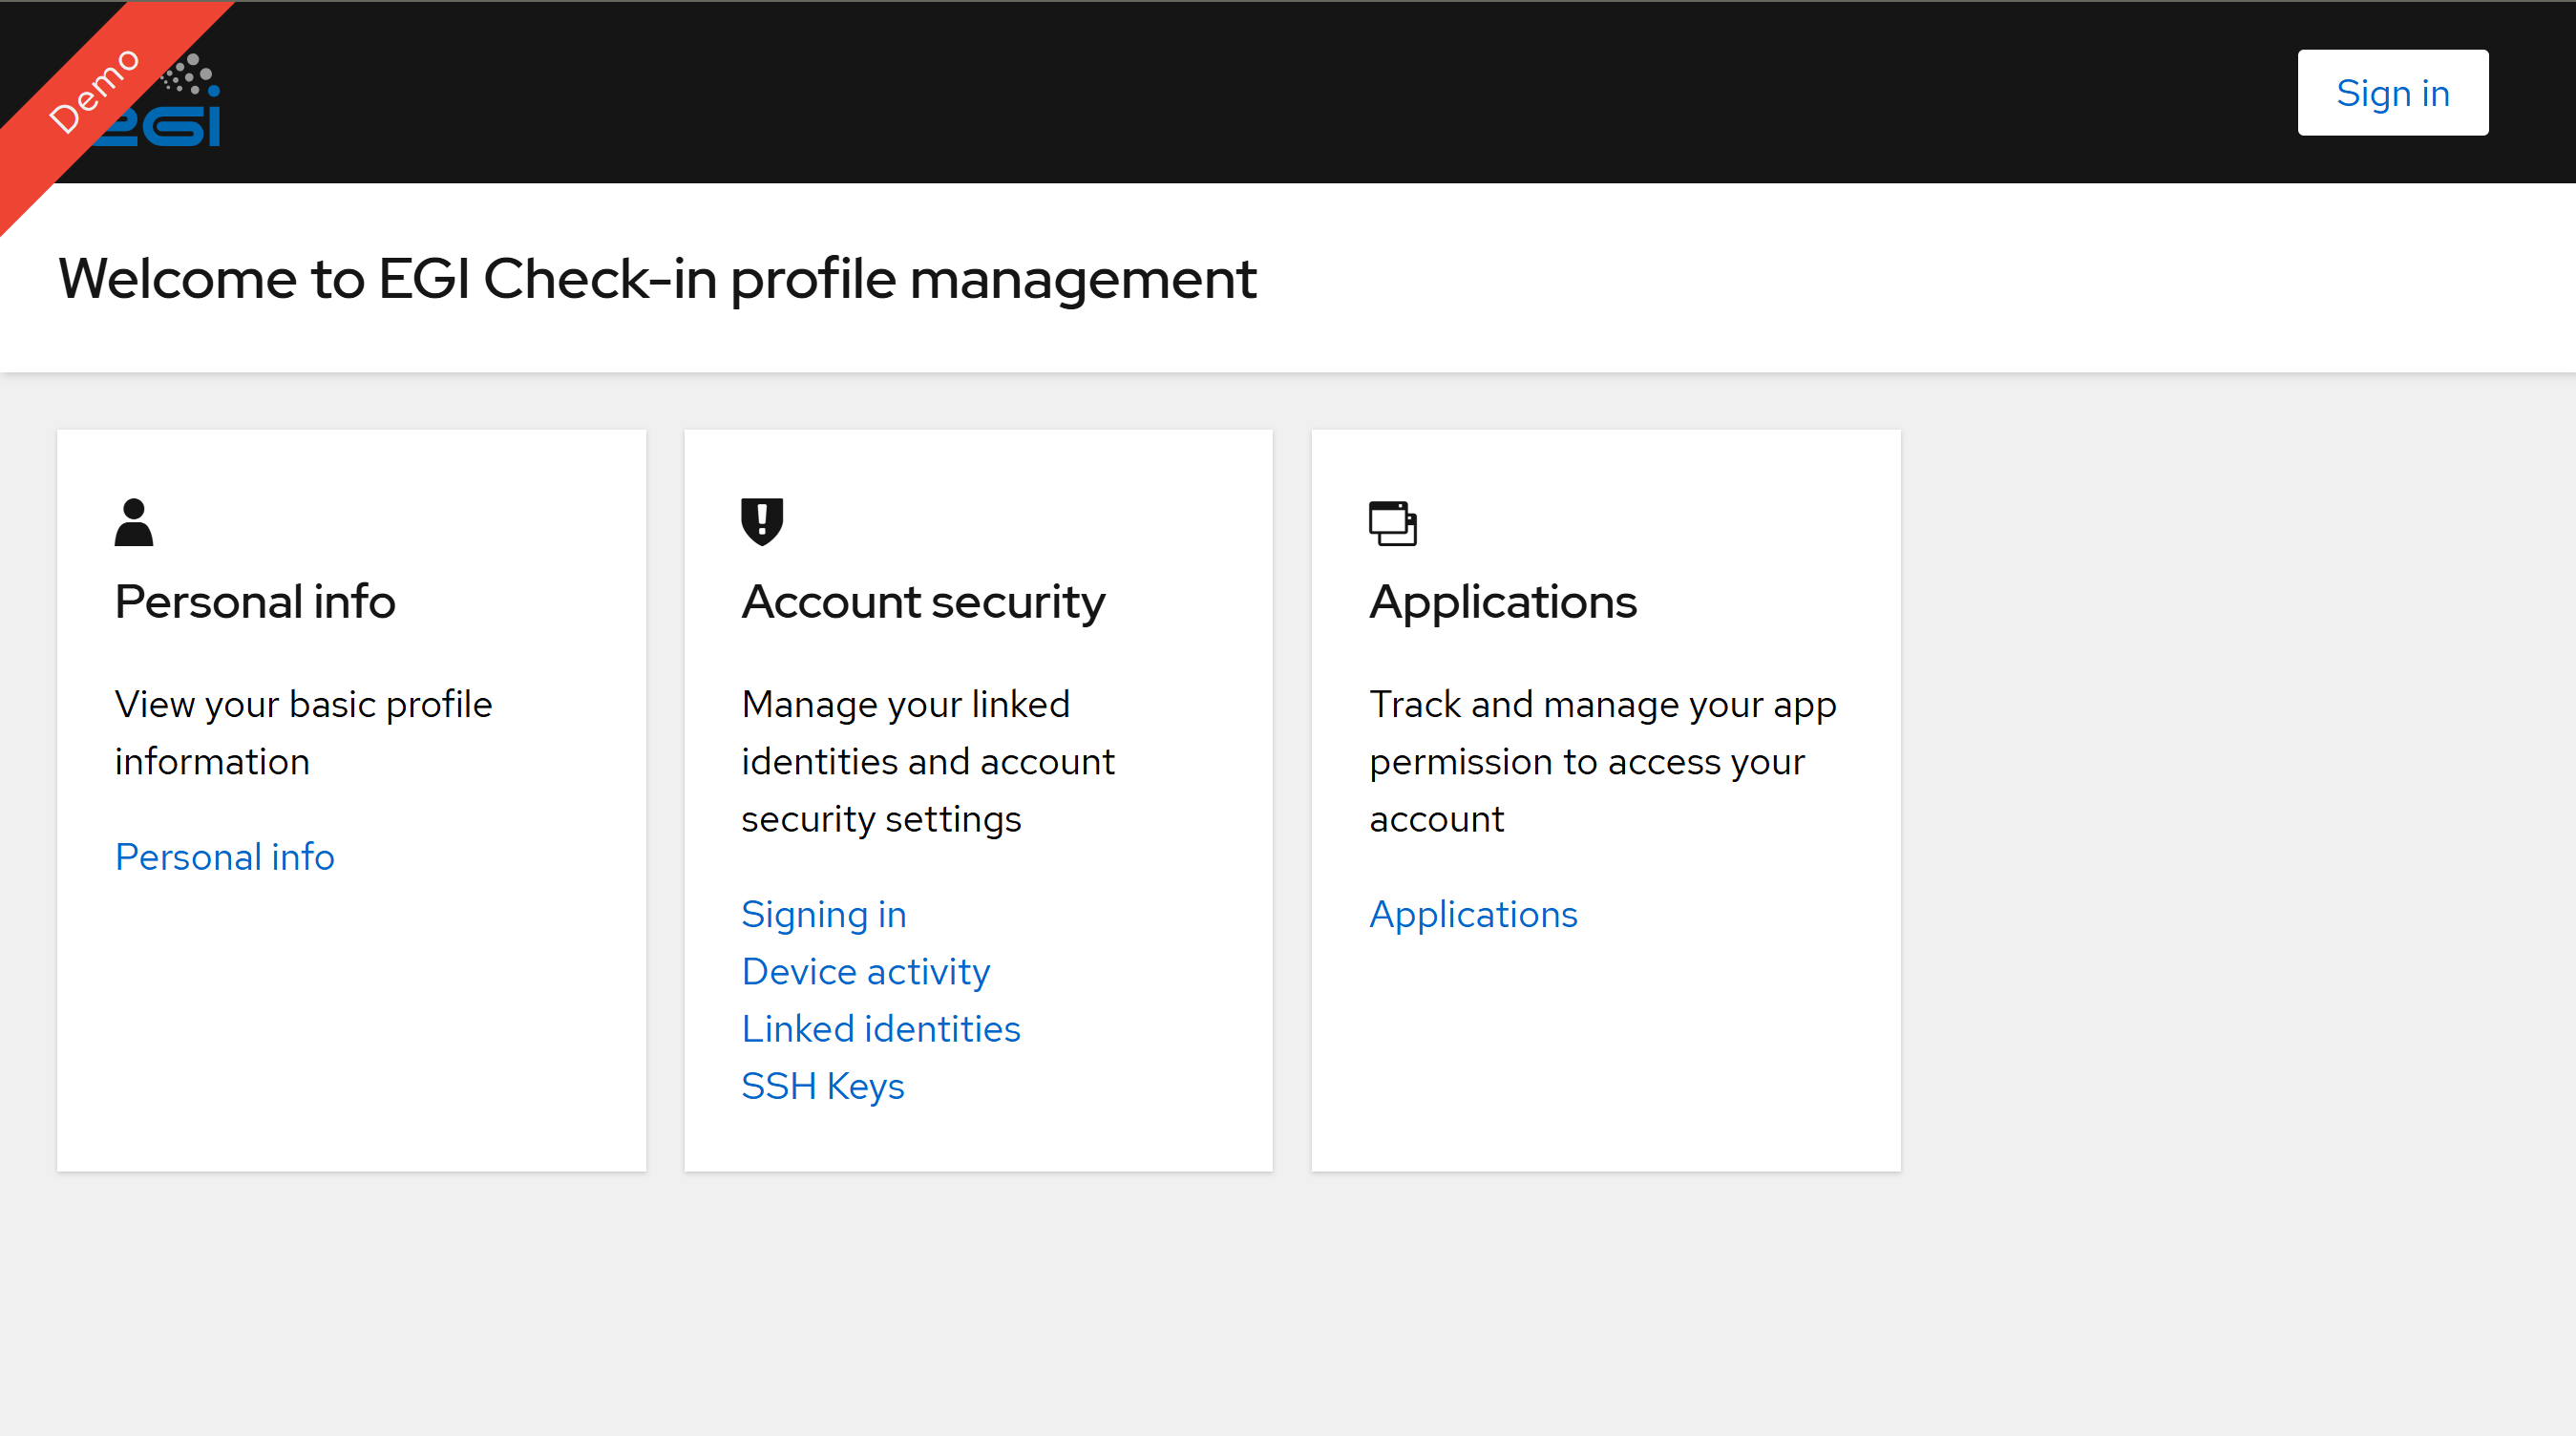
The EGI Check-in login page where you can select your Identity Provider.
To ensure you have the correct permissions for VPN deployment, follow these steps:
Login: Access the portal and authenticate using your institutional account or the method provided by your administrator.
Check the Environment:
Important
EGI operates different environments. Make sure you are logging into the correct one (Production, Demo, or Dev). Permissions granted in the Demo environment will not work in Production.
Verify Group Membership: Once logged in, navigate to the “Groups” section in your dashboard. Here you can see the list of Virtual Organizations (VOs) and subgroups you belong to.
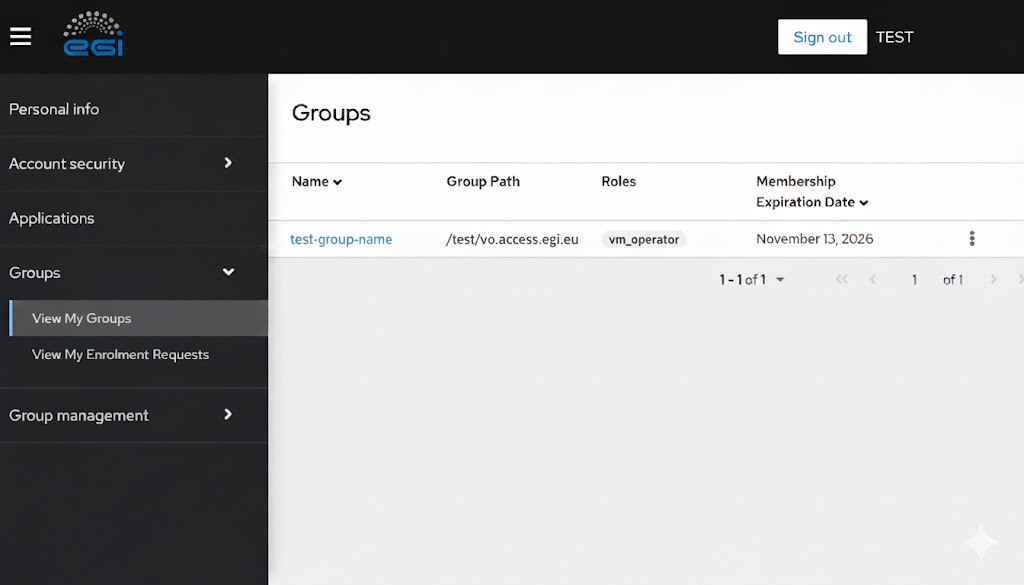
Example of the Groups dashboard. Ensure that the ‘Group Path’ matches the one required for your VPN access.
Tip
If you don’t see the expected group (e.g., /test-access-path), please contact your Admin. Access to private VPN networks is strictly tied to these memberships; without the correct group assignment, the VPN authentication will fail.
Life-Science AAI
Life-Science AAI is the authentication infrastructure tailored for the life sciences community. It allows you to use your existing institutional credentials to access shared resources.
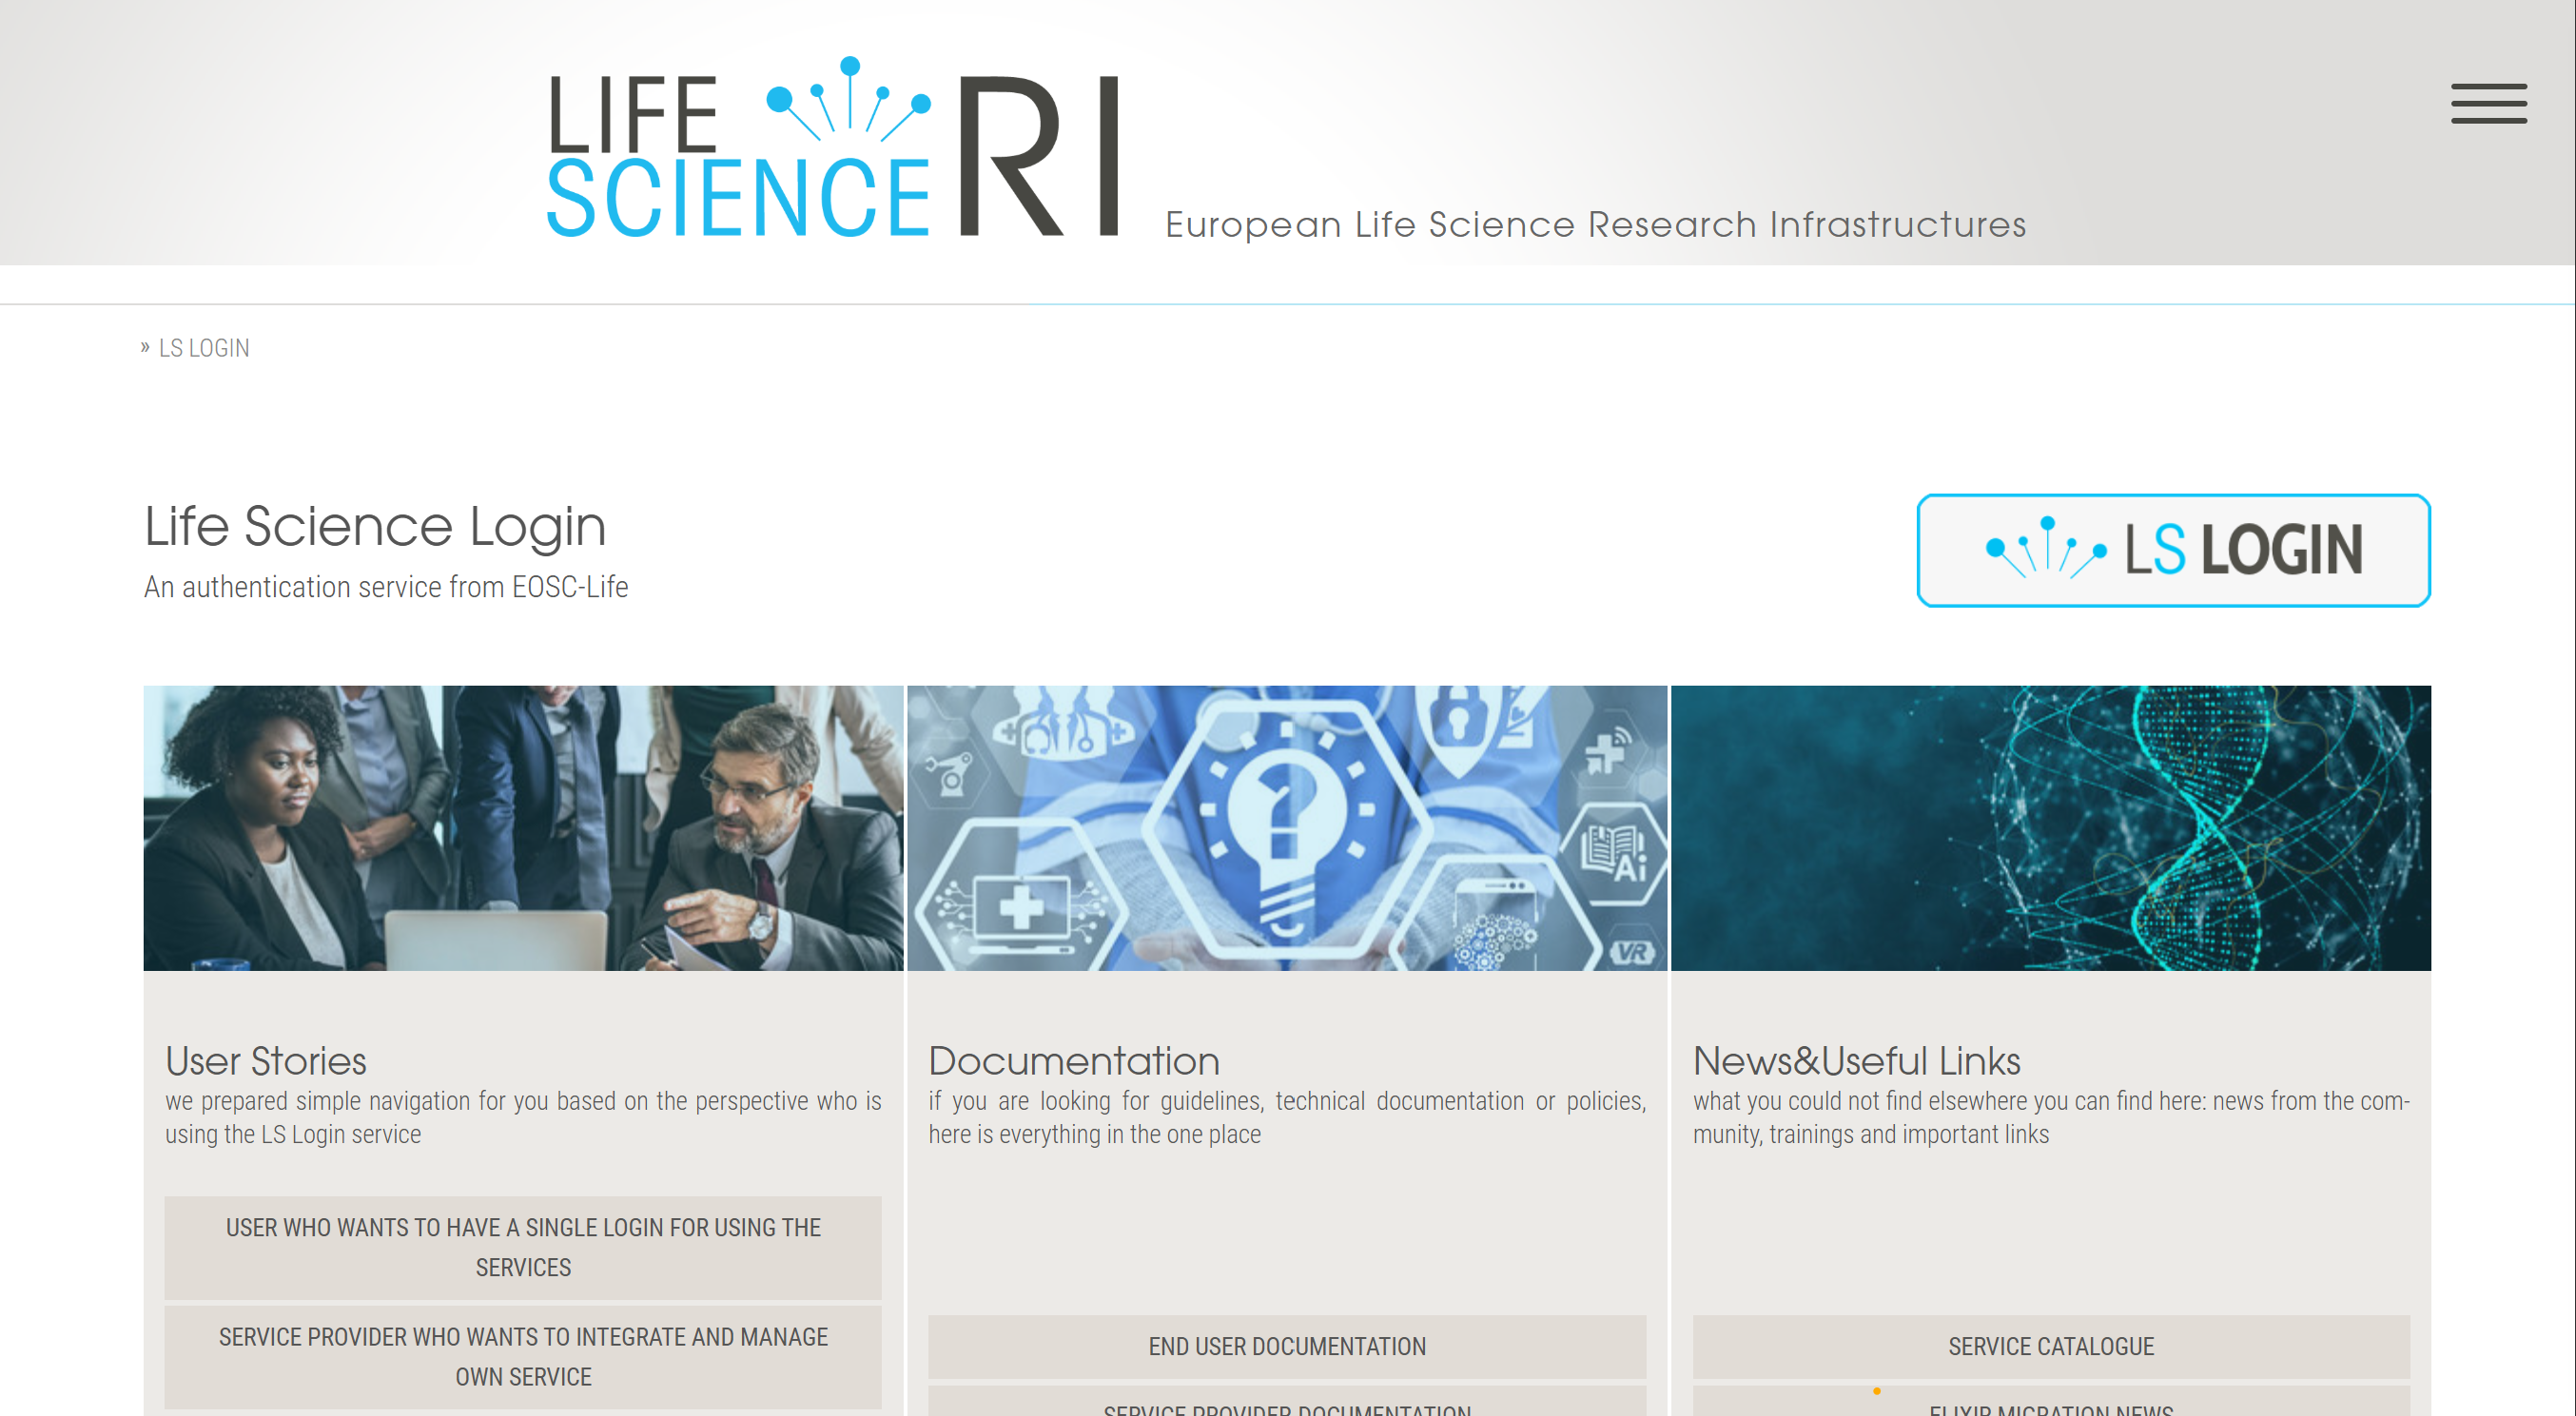
Access the Portal: Click the LS AAI Link. To begin the login process, click the LS Login button located in the first quadrant of the homepage.
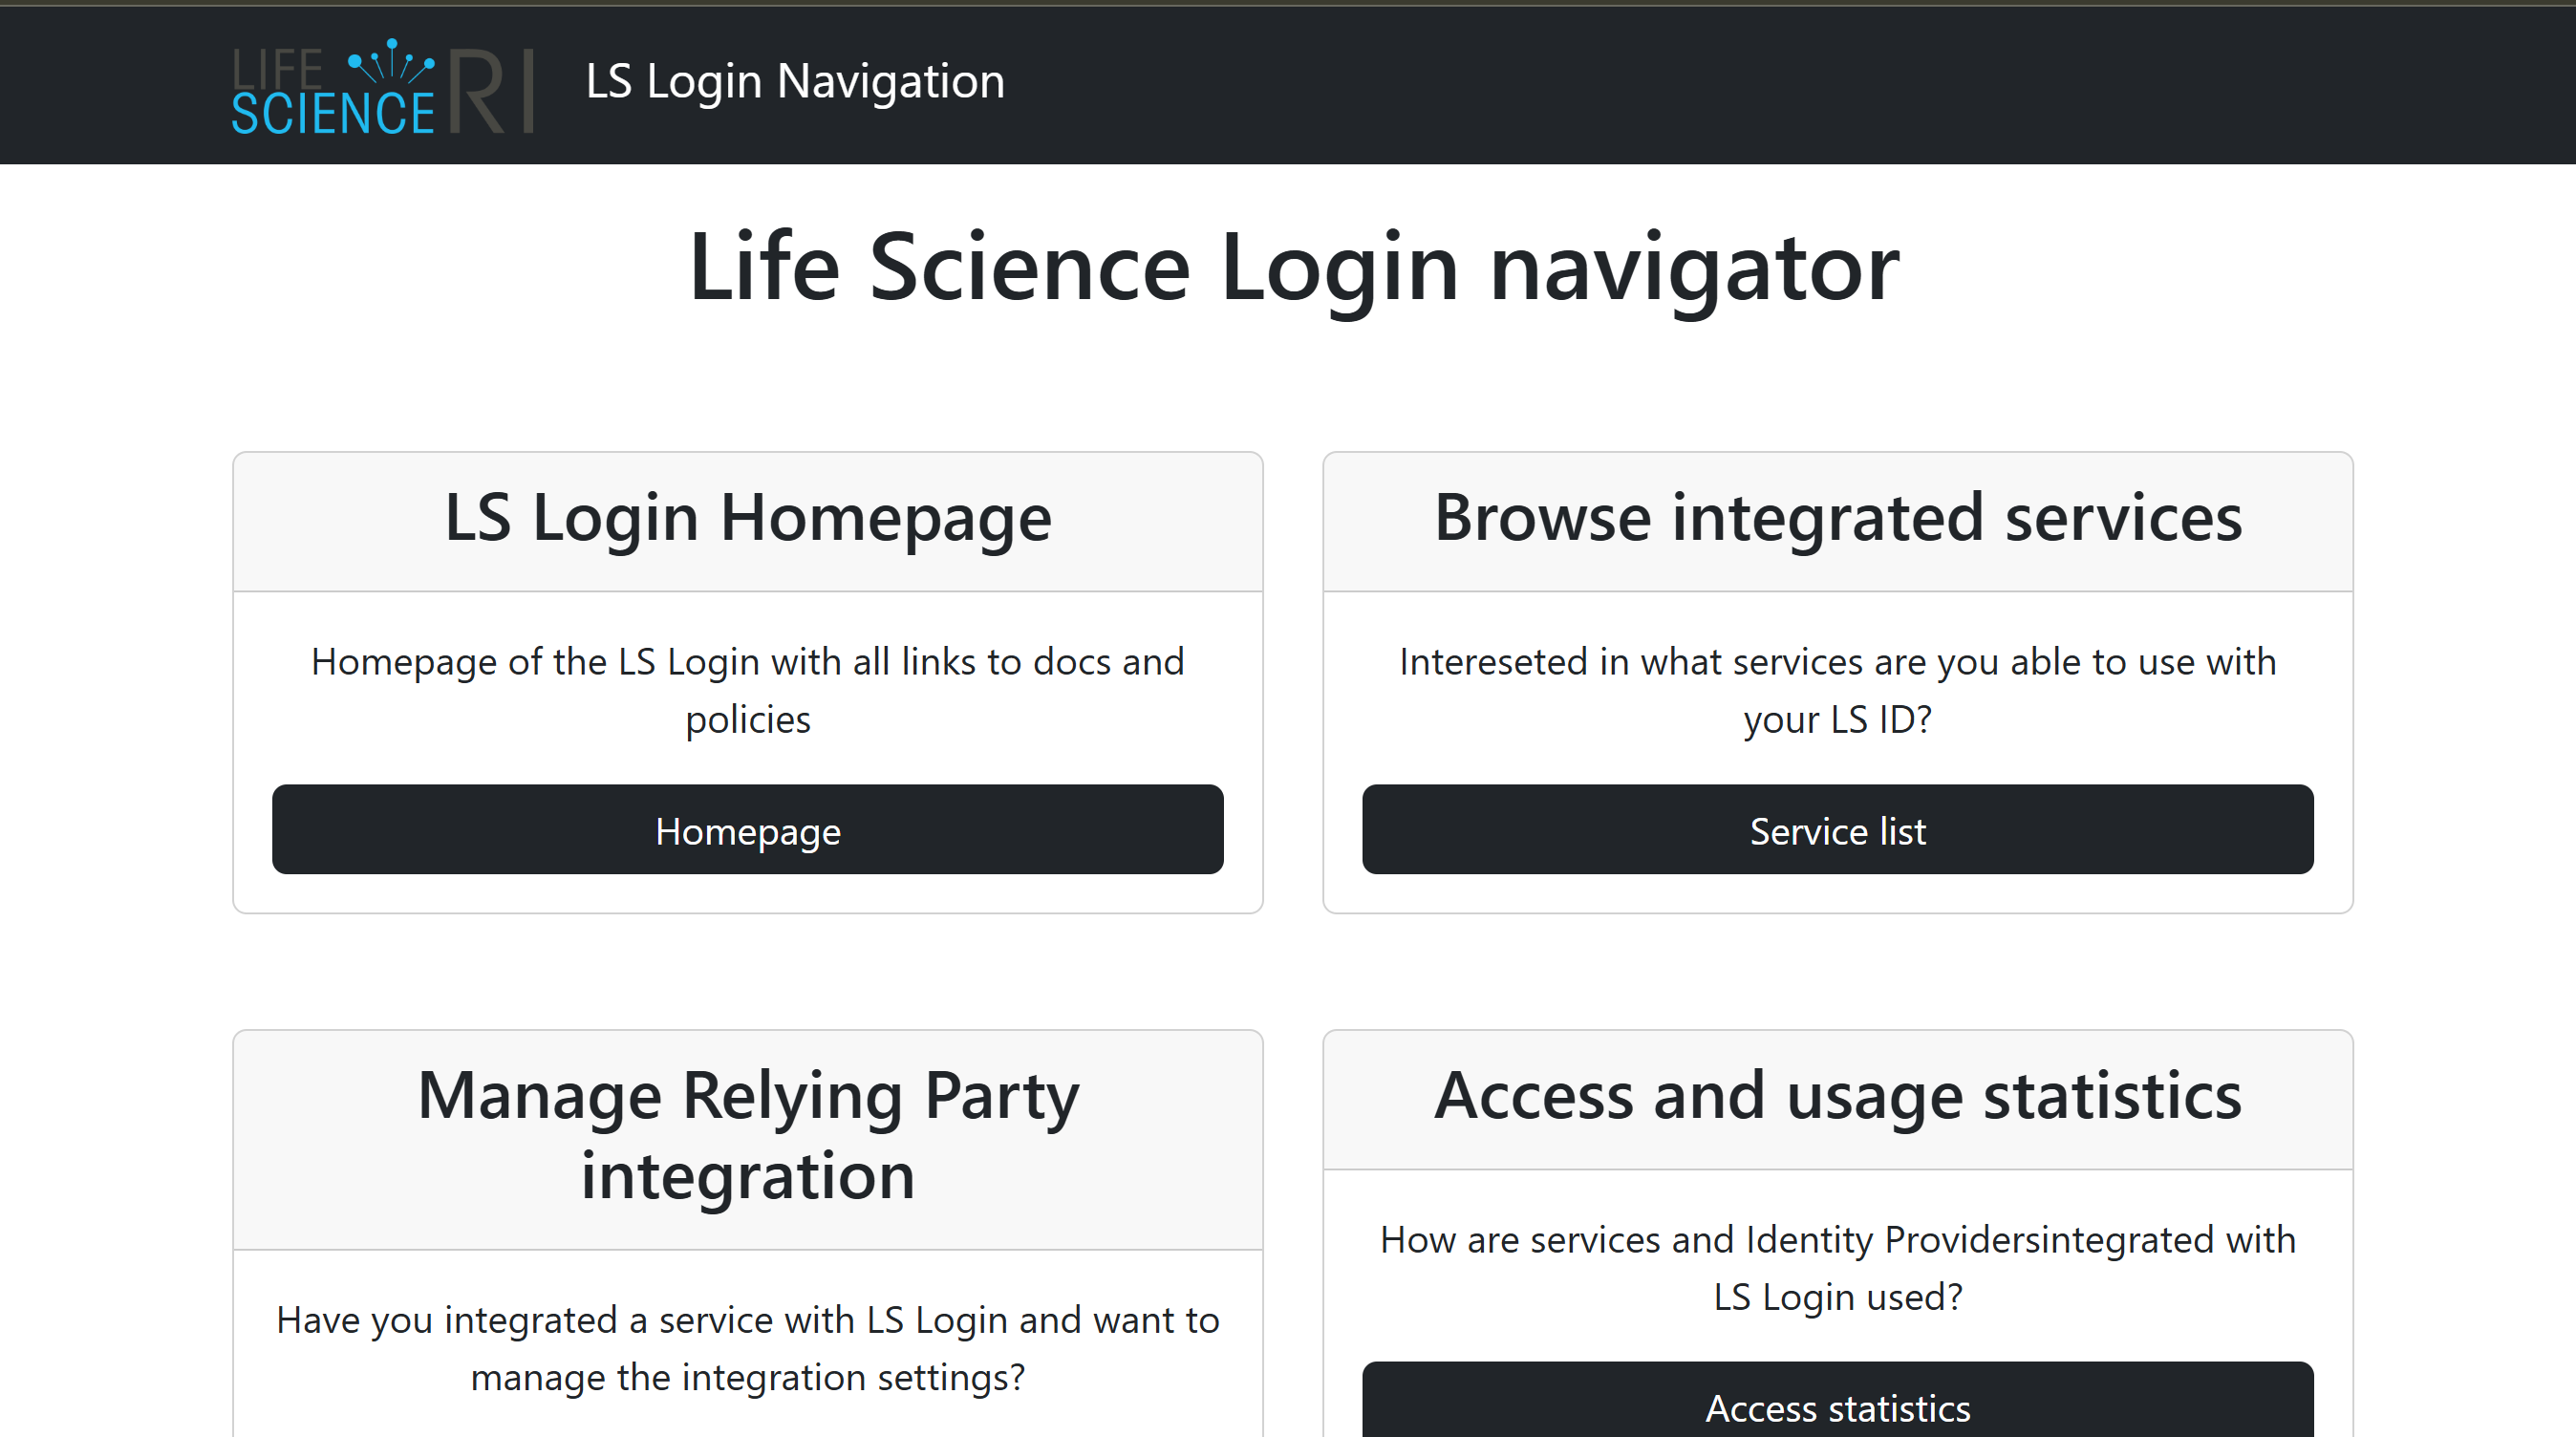
The LS AAI homepage: locate the login area to proceed.
Identity Selection: You will be redirected to the main login page. Click the LS Login button on the right side of the screen.
Institutional Login: Select your home institution (university or research center) and follow the steps to authenticate using your official credentials.
then after this step you need to choose your provider to complete the authentication process.
Profile exploration: Once you’re inside, you’ll see your profile information, like this:
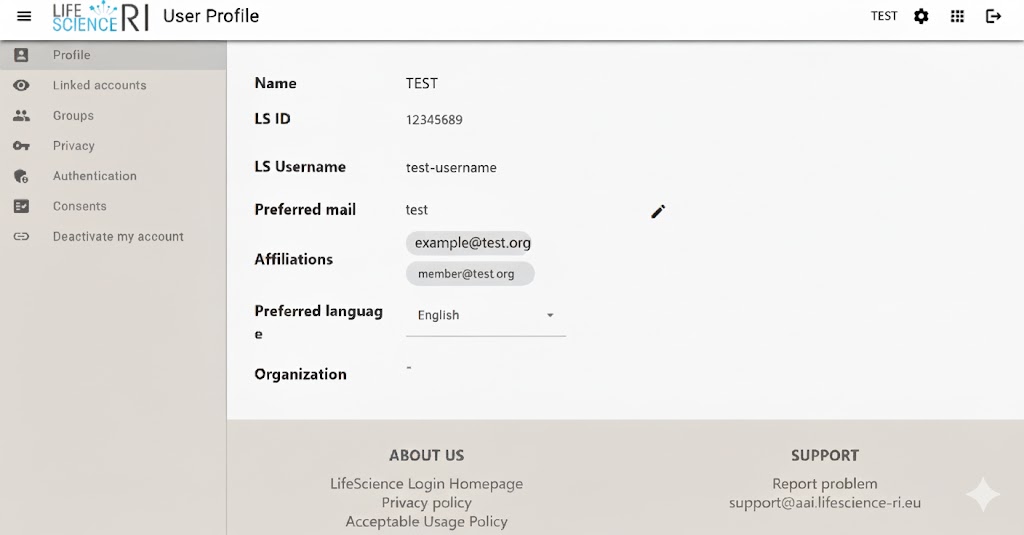
Overview of the LS AAI profile homepage.
Group: Now, check that you are part of the correct group.
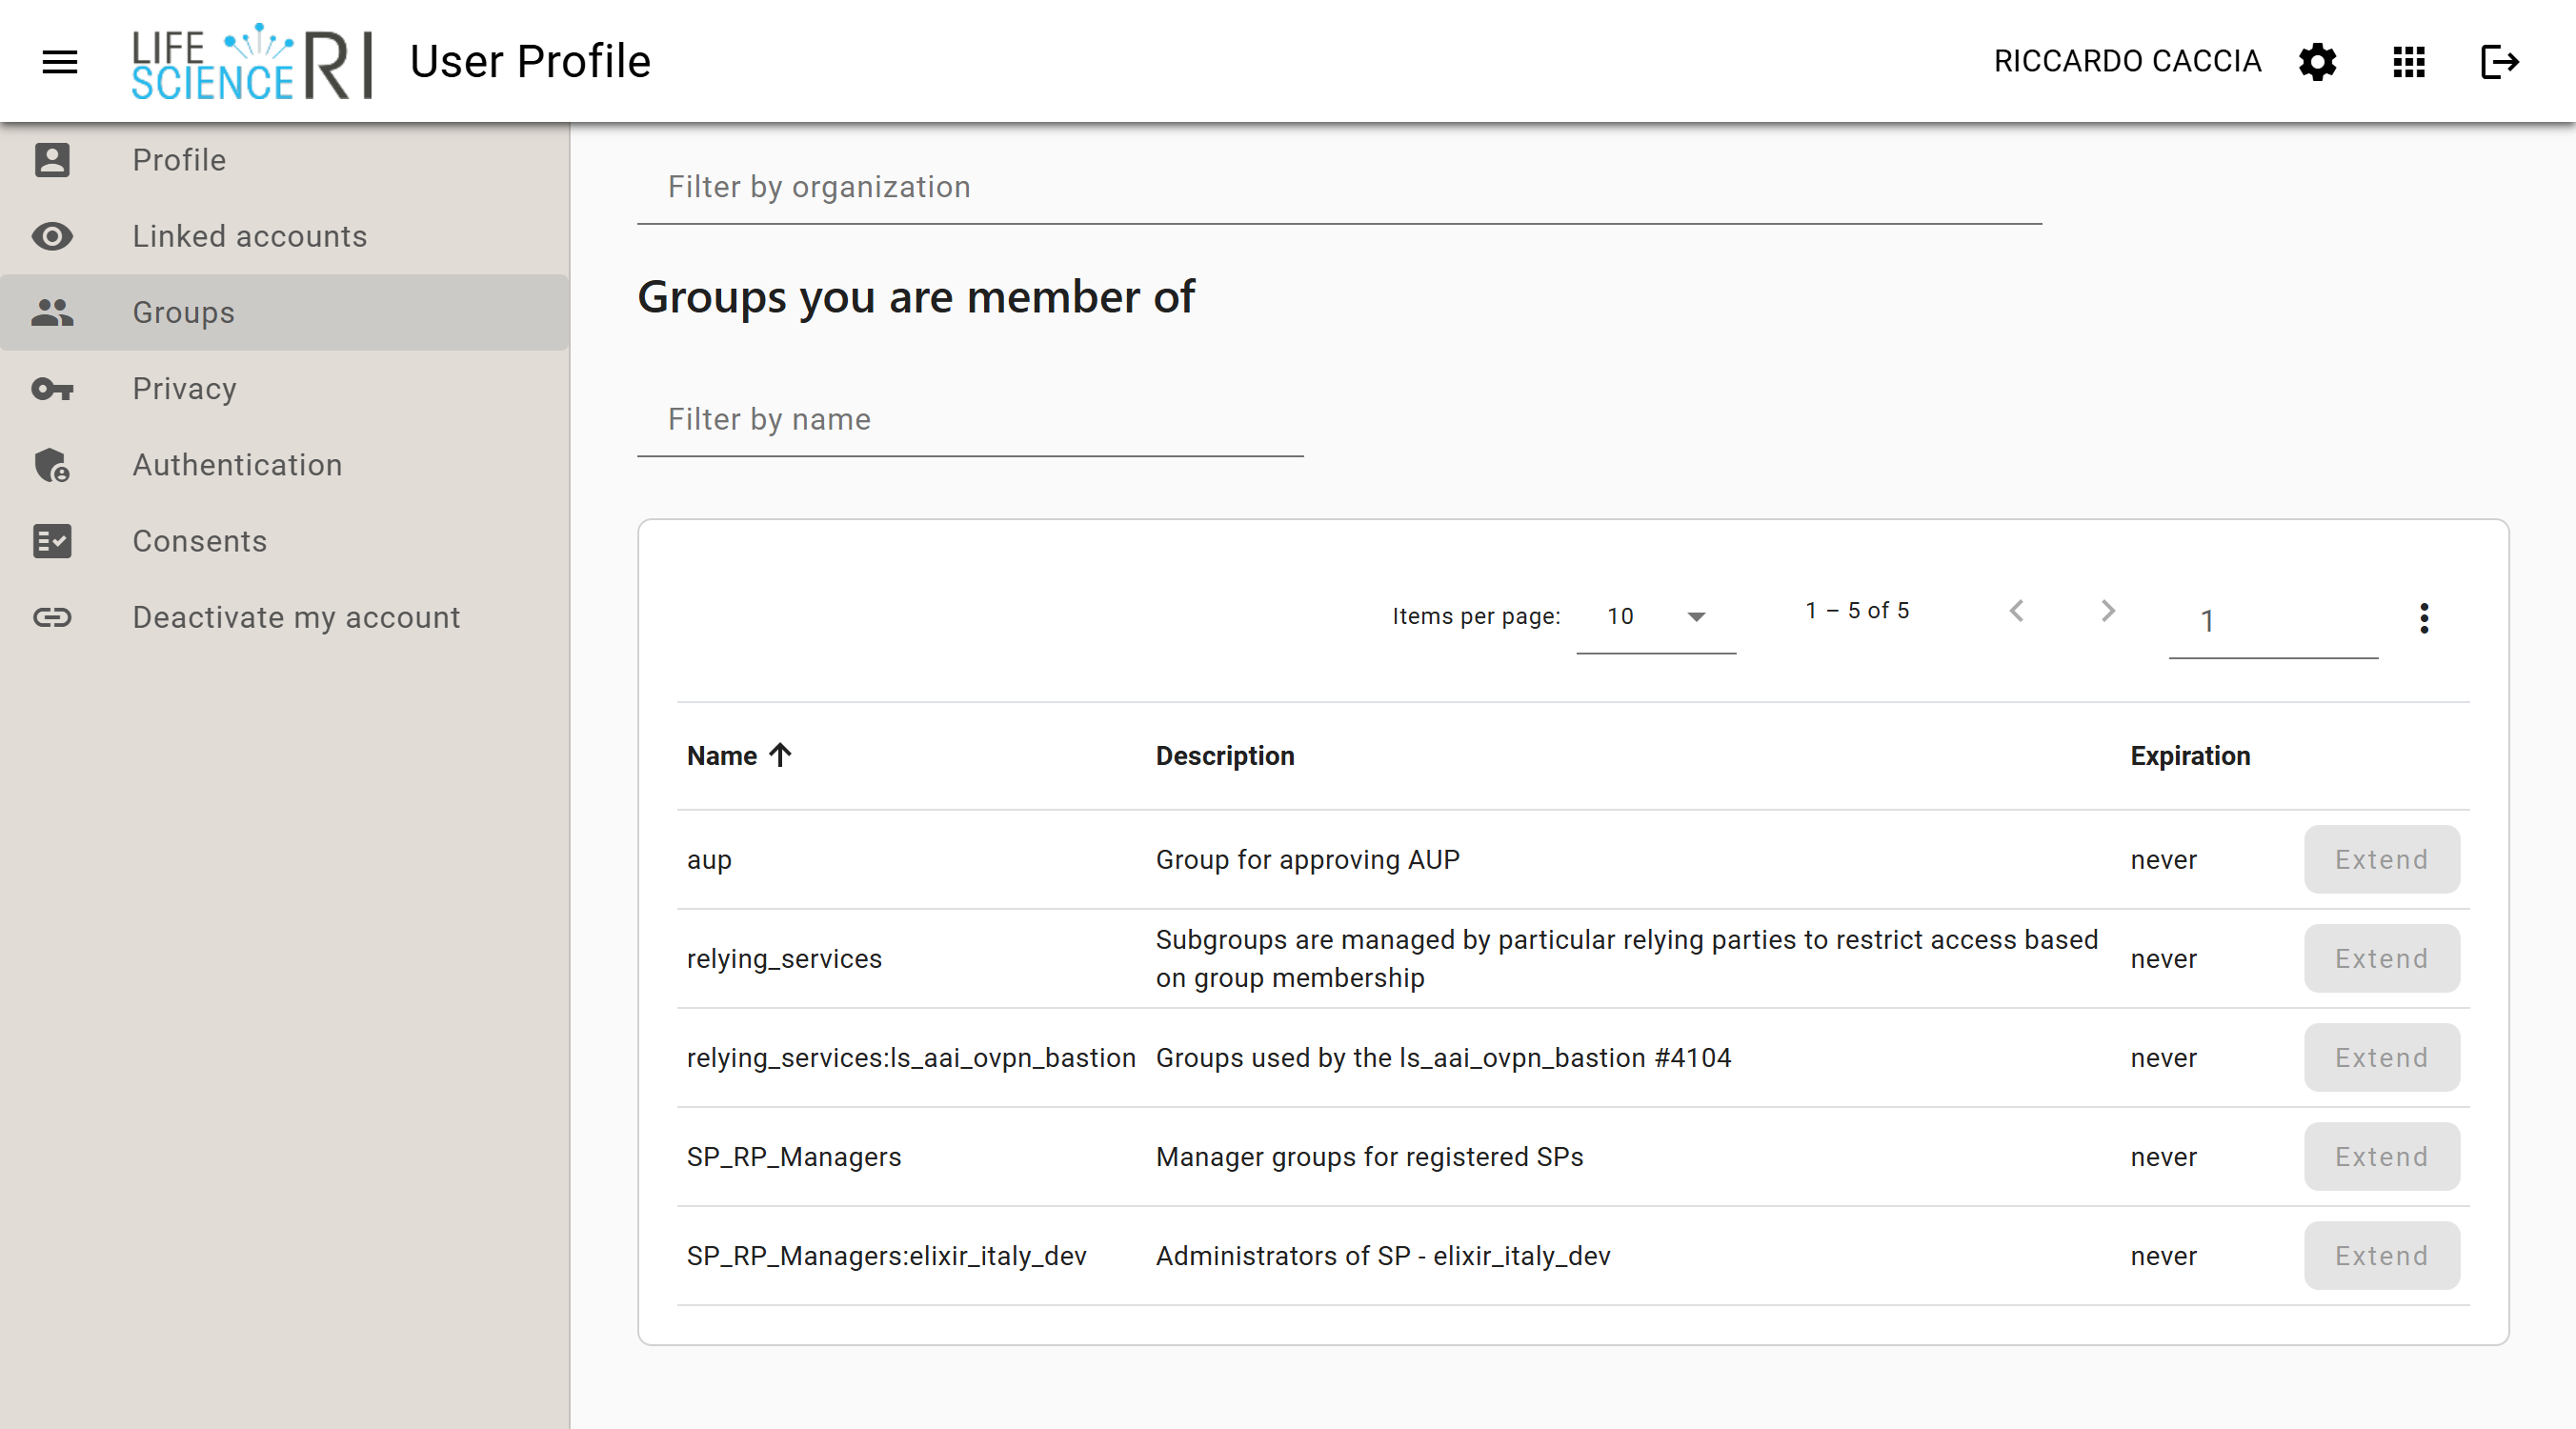
Overview of a LS AAI group.
Note
Once logged in, your profile informations need to be shared with the Laniakea platform to enable VPN access. If your institution is not listed, contact your Admin to discuss alternative login methods or new groups enrollment.
Indigo IAM (recas)
Recas? or only EGI+LSAAI